
How to Organize Centers in a Special Ed Pre-K Classroom
Are you in the process of setting up centers? Do you need ideas on how to organize your centers? Keep on reading to see how I up centers in my Co-Teach Blended Pre-K classroom.
Centers Lesson Plan
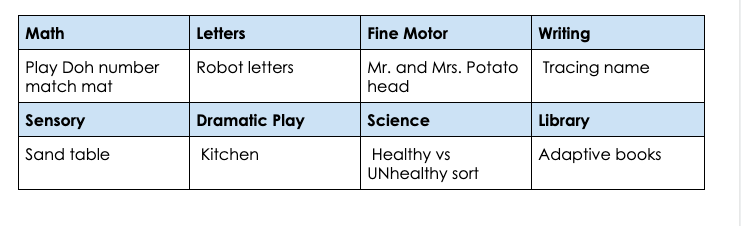
Math, fine motor, library, writing, puzzles, and science are some of the most popular centers in special education classes. As an Early Childhood Special Education Teacher I know that centers are the way children learn and grow. The first step is to decide how many centers you will have in your classroom and how often will you change them. In my Pre-K class, I’m required to have a minimum of eight centers but my co-teacher and I have more. In my lesson plan, I have a table (shown above) with the center names and activities available at each center. Ideally, I have 2-3 activities at each center to allow more than one student at the center.
Ideally, you will write out your centers and the activities for each. Deciding how often centers will be changed ahead of time will help keep you sane. Usually, we change them out every two weeks and dramatic play monthly. Typically, our dramatic play goes along with the theme and takes a long time to set up. Check out my blog here to see more. Again, create a template for center lesson plans and decide how often you will change them out.
Organizing Centers

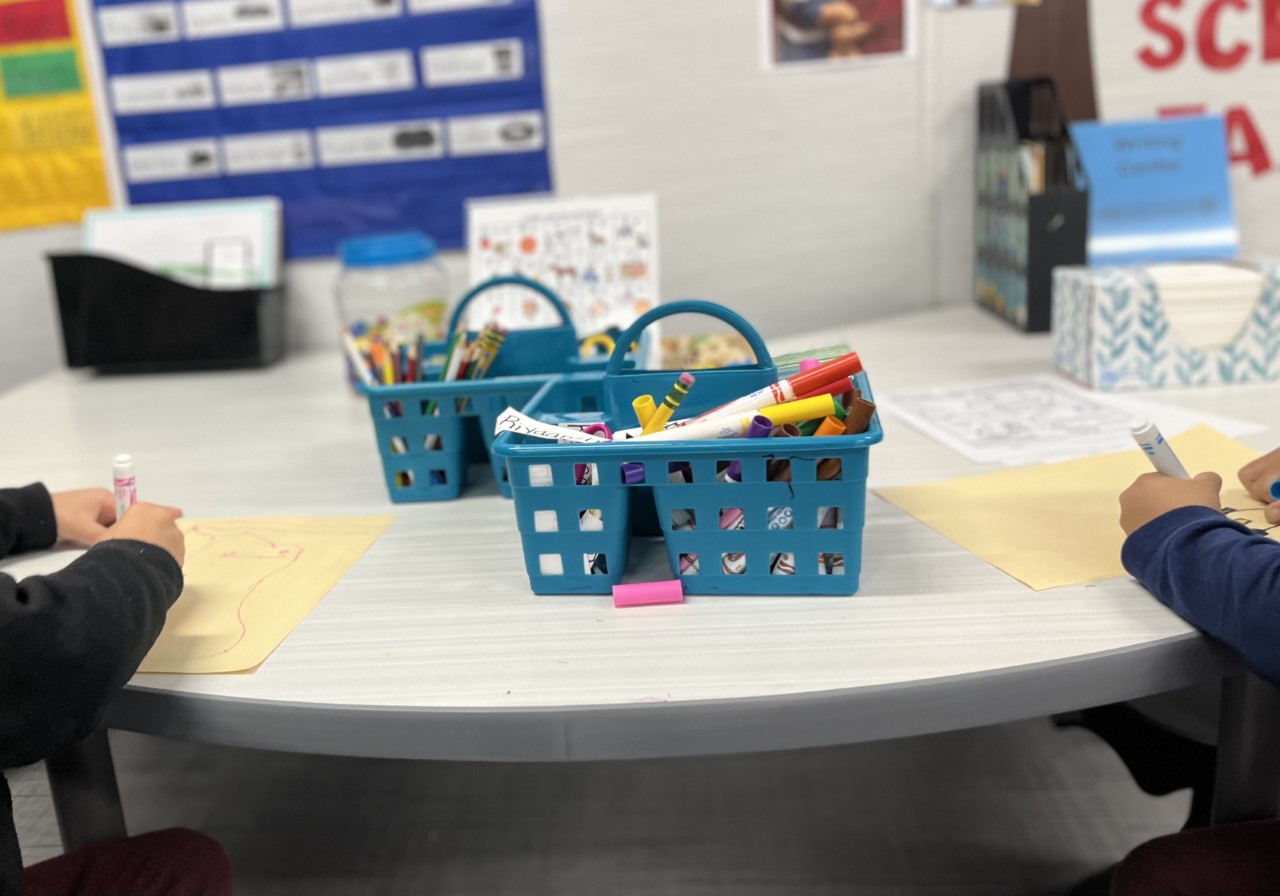
Next, you must decide where each center will be and you will label it. Now this part works best when you know your style and what works best for you and the students. Some teachers hang signs from the ceiling labeling tables, others put a sign (see pic above), or color code centers with tape/stickers. Usually, we need to plan for some tables to have dual purpose. In other words, it may be a student’s desk but during centers, anyone is able to go work there if they’re in the puzzle center.
In my classroom, student tables work as centers with signs and there are also stand alone centers. Some of the stand alone centers are dramatic play, water table, writing table, science table, light table, doll house, library and listening center. Student are taught to put the math activities on the table labeled math only during centers time. Find you centers and label them so that student can clearly see where they should go. WOW! Now you have centers planned and you have them set up!
Student Led
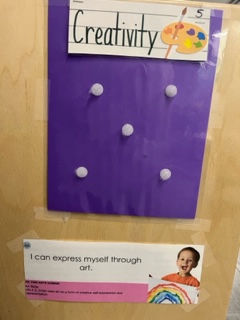
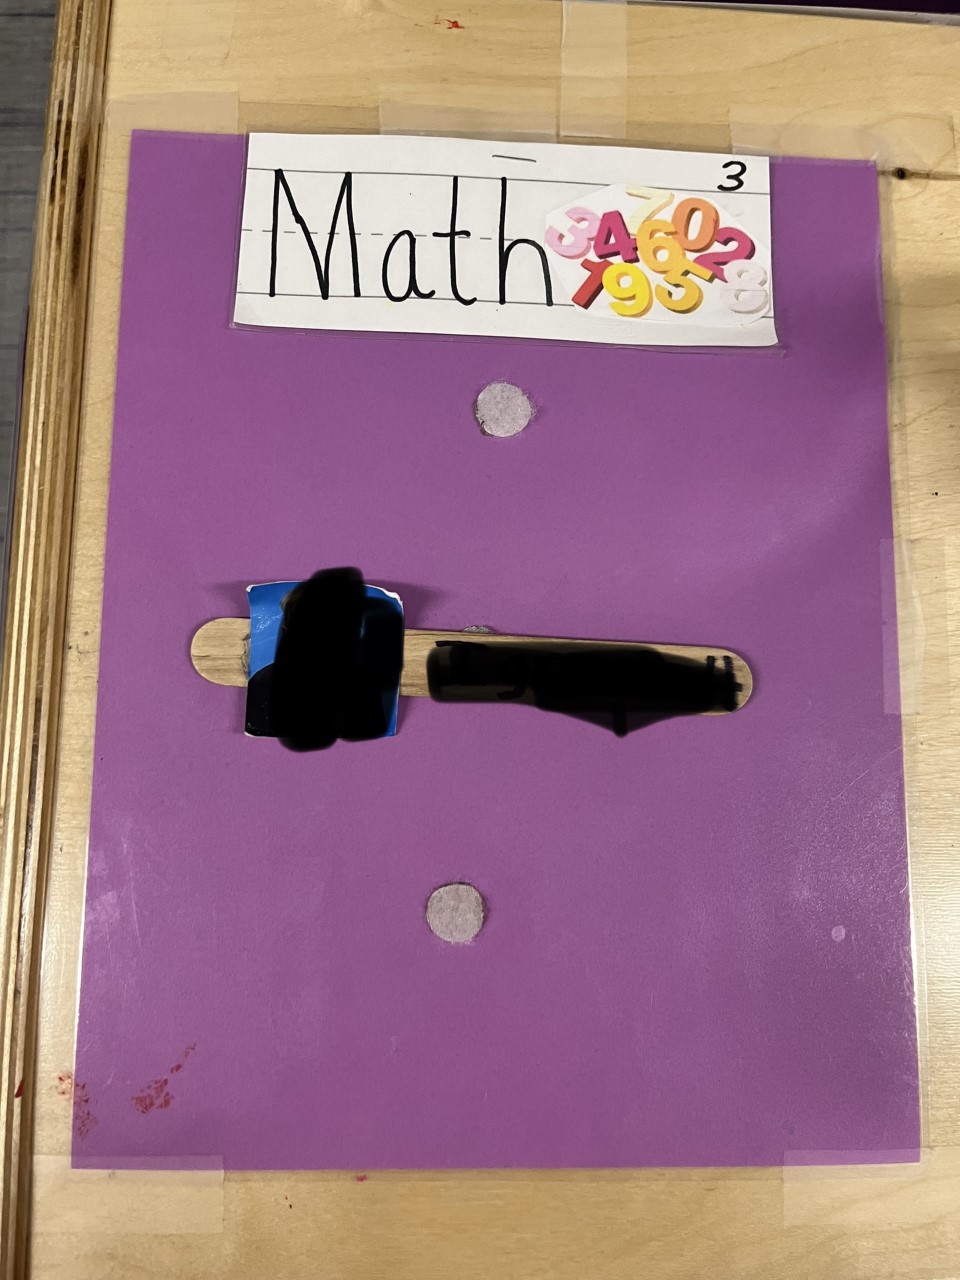
Next, you will create what I call a “sign in sheet” for each center. The “sign in sheet” will need to let students know the type of center it is with a visual and how many students are allowed in this center. Very Important that each center have a limit and that students are made aware of this from day one.
In our classroom, we laminated /color coded the center sign in sheets and added velcro dots. Each velcro dot stands for one student. Therefore, if they see five velcro spots they understand only five students are allowed to play there. Consequently, if all five spots are taken, the student knows that center is full. This helps create independence, accountability and provides the with free choice or free range to choose as they please.
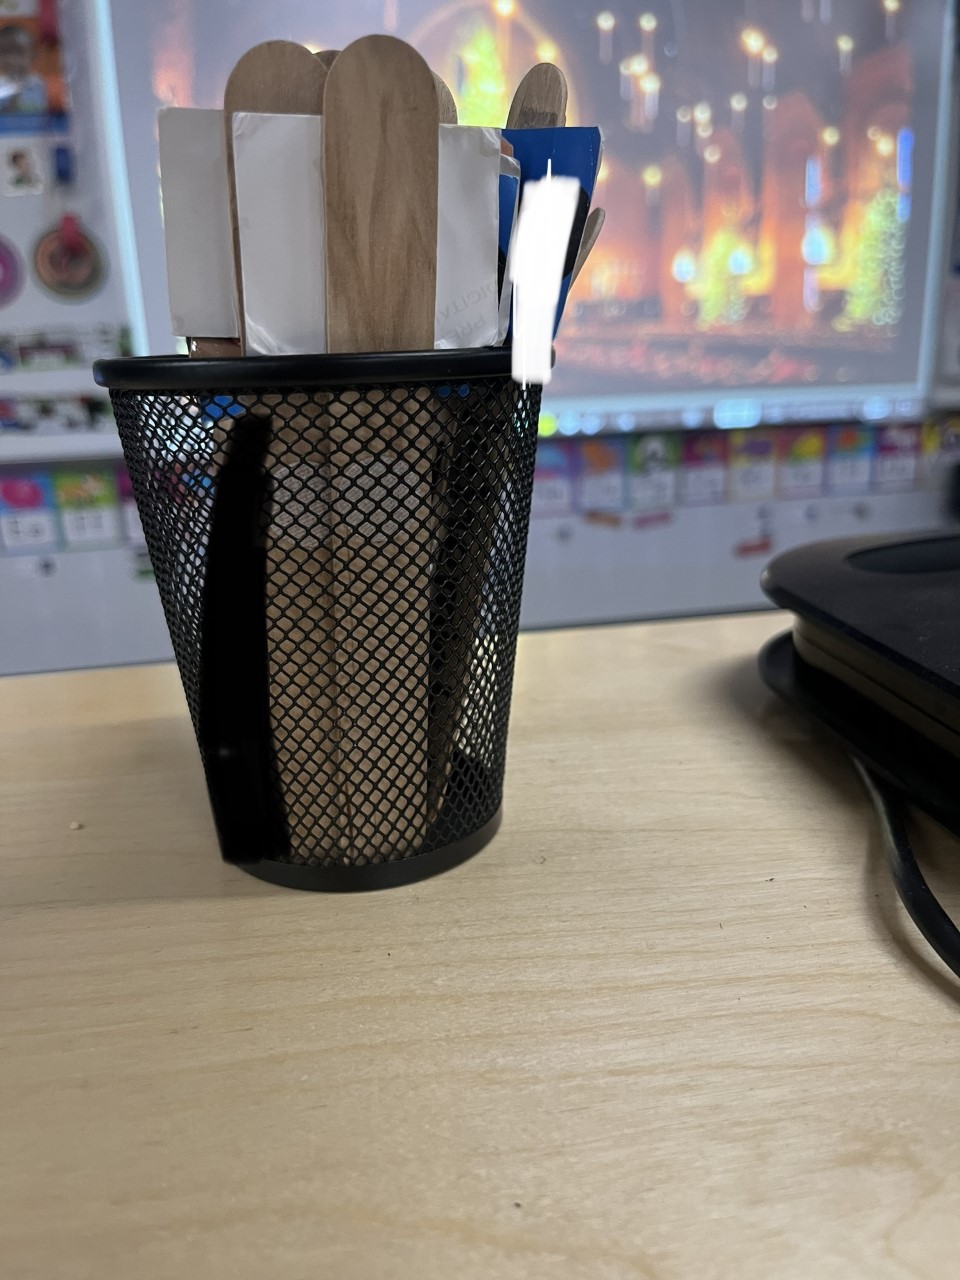
I’ve tried and seen many ways to make this work I know some teacher create an actual sign in sheet for students to write their names and only provide that many lines. You can use clothes pin to have students check in to the center, pictures, velcro name tags, velcro popsicle sticks or matching visuals. I love using popsicles! You must set up how students will sign in and how students will know centers are available. Which method will you choose?
Trial and Error
That’s it! Once you have figured out the above steps, lesson planing and organizing centers should be a breeze! The last step would be to add activities appropriate to your students and that goes along with the theme. My number one advice is to always incorporate toys or activities that are engaging. Be flexible! It’s all trial and error as you find what works for you. If you notice students are loosing interest sooner than your rotation, exchange one or two items from that center to create more interest.
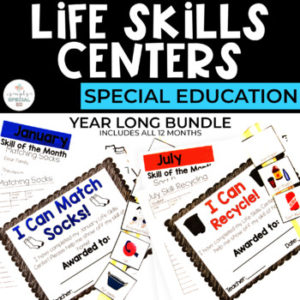
Finally, if you are looking to create centers for life skills classroom check out this blog. Comment below if you found these tips helpful. Happy Planning!

The post How to Organize Centers in a Special Ed Pre-K Classroom appeared first on Simply Special Ed.