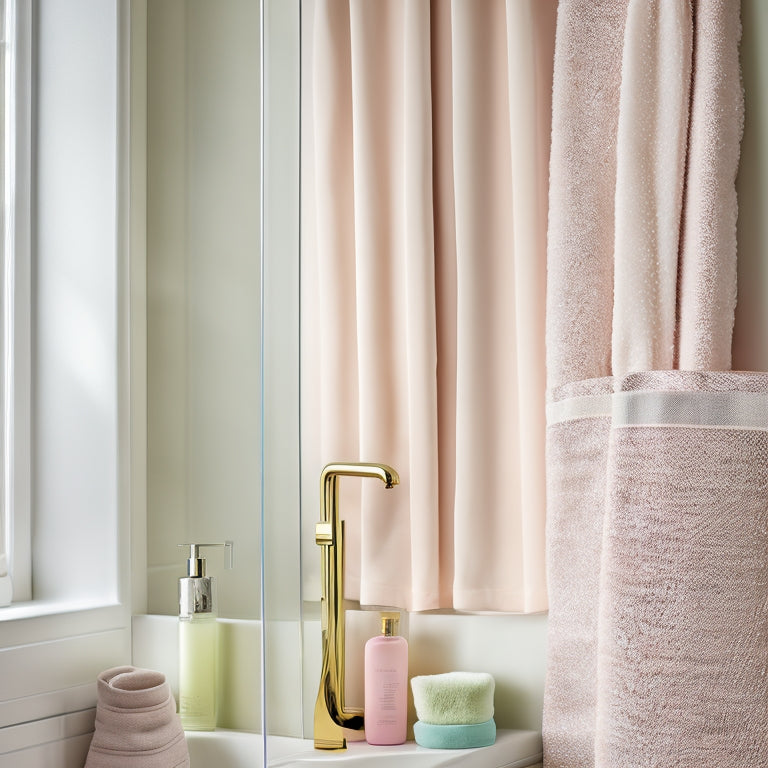
Craft Your Own Multi-Pocket Bath Caddy
We're about to craft a multi-pocket bath caddy that's both functional and stylish! To get started, we'll prepare our fabric components, selecting fabrics that complement each other and adding mid-weight interfacing for stability. Next, we'll assemble our pocket panels, creating box pleats and attaching trims for a polished look. From there, we'll construct the caddy body, focusing on handle attachment and a sturdy foundation. Finally, we'll add finishing touches, like embellishments and functional additions, to create a one-of-a-kind caddy. Now, let's get creative and see what unique features we can bring to life!
Key Takeaways
• Select fabric components that complement each other and apply mid-weight interfacing for stability and structure.
• Create box pleats along the bottom edge of the pocket panels and establish pocket divisions with vertical lines for functionality.
• Construct the caddy body by seaming the exterior panel into a tube shape and attaching a base circle for a sturdy foundation.
• Add functional additions like suction cups, hooks, or hanging options to enhance the caddy's usability and versatility.
• Embellish the caddy with ribbons, appliques, or monograms to add a personal touch and make it visually appealing.
Preparing the Fabric Components
As we start on creating our multi-pocket bath caddy, we're gathering our fabric components, starting with the exterior body and pocket panels, which will soon take shape with the help of mid-weight interfacing.
We're selecting fabrics that complement each other, considering texture, color, and pattern. Next, we'll apply the interfacing to the exterior body and pocket panels, following the manufacturer's instructions for a secure bond. This will provide stability and structure to our caddy.
We'll also create the handle, inserting heavy-weight interfacing into the strip and folding, pressing, and stitching it in place. With our fabric components prepared, we're ready to move on to the next stage of our project.
Assembling the Pocket Panels
We'll begin assembling our pocket panels by placing the lining against the pocket panel and basting around the edges to secure them together.
Next, we'll create six 1' box pleats along the bottom edge, marking their placements and folding them in place.
We'll then create five vertical lines for pocket divisions, pinching and aligning the pleats for a finished box pleat.
After that, we'll attach a trim strip to the top edge of the pocket panel, pressing back one edge and stitching it in place.
We'll add heavy-weight interfacing underneath the trim strip and fold it over to create the top edge, finishing with edgestitching along the top and bottom of the trim strip.
This will give our pocket panel a clean and sturdy finish.
Constructing the Caddy Body
Now that our pocket panels are assembled, let's turn our attention to crafting the caddy body, the foundation of our multi-pocket bath caddy.
We'll use sewing techniques to bring this essential component to life. First, we'll seam the exterior body panel into a tube shape, making sure to leave an opening for turning.
Next, we'll attach the base circle to the bottom, ensuring a sturdy foundation. With the body taking shape, we'll focus on handle attachment.
We'll set the handle aside for now, but we'll revisit it soon to attach it securely to the caddy body. By combining these elements, we'll create a sturdy and functional caddy body that will support our pocket panels and keep our bath essentials organized.
Adding the Finishing Touches
With our caddy body and pocket panels in place, let's add the finishing touches that will elevate our multi-pocket bath caddy from functional to fabulous. It's time to get creative and make our caddy truly unique.
Here are some ideas to get us started:
-
Adding embellishments like ribbons, appliques, or monograms to give our caddy a personal touch
-
Using personalization techniques like quilting or stamping to add a special message or name
-
Attaching functional attachments like suction cups or adhesive hooks for easy hanging
-
Incorporating hanging options like a rope or chain for a more rustic look
-
Adding a splash of color with contrasting thread or piping to create a bold statement
Finalizing the Caddy Assembly
We're ready to bring our multi-pocket bath caddy together by attaching the final components and adding any last-minute details that will make it truly special.
Now it's time to attach the straps, carefully positioning them to guarantee a sturdy and comfortable grip.
Next, we'll add some pocket embellishments to give our caddy a personalized touch. A few strategically placed ribbons or buttons can make all the difference in the overall look and feel of our creation.
With our trim and pocket panels complete, we can finally assemble the entire caddy. We'll attach the handle, making sure it's secure and evenly spaced.
A final once-over to make certain everything is in place, and our multi-pocket bath caddy is ready to impress!
Frequently Asked Questions
Can I Use Cotton or Linen for the Interfacing Instead of Recommended Materials?
We wonder if cotton or linen can replace recommended interfacing materials. While they may work, their fabric weight and thread count might not provide enough stability, potentially affecting our caddy's structure and overall durability.
How Do I Adjust the Pattern to Fit a Larger or Smaller Bath?
We're not trying to bathe an elephant, but we get it, tub sizes vary! To adjust the pattern, we scale up or down, considering the tub's dimensions, and tweak the pocket panel and pleats accordingly, ensuring a snug, functional fit.
Are Serged Seams Necessary for the Caddy's Interior Construction?
We ask ourselves, "Are serged seams necessary?" and decide they're not, as long as we prioritize seam durability through strong fabric choices and secure stitching, ensuring a sturdy interior that withstands daily use.
Can I Add Additional Features Like a Soap Dish or Towel Holder?
As we weave our tale of functional flair, we ponder, "Can we add a soap dish or towel holder to our creation?" Absolutely, we can! Let's incorporate rustic accents and decorative trim to elevate our design, making it a true masterpiece of bathroom bliss.
Is It Possible to Use a Pre-Quilted Fabric for the Caddy's Exterior Body?
When selecting fabric, we consider quilting options, and yes, we can use pre-quilted fabric for the caddy's exterior body, which simplifies the process and adds texture, but we'll need to adjust our fabric selection and construction approach accordingly.
Related Posts
-
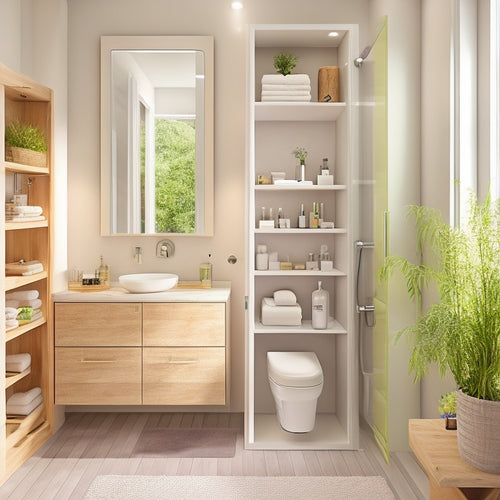
Modular Bathroom Storage for Small Spaces
Modular bathroom storage is your go-to solution for small spaces, turning clutter into chic organization. Use wall-mo...
-

RADICAL HEALTH REVOLUTION: Blueprint for Eternal Wellness
I've spent years feeling stuck, searching for a way to break free from mediocre health and access a life of vibrancy ...
-
Revamp Your Cleaning Business With This Checklist
Revamping your cleaning business requires a strategic overhaul of operational inefficiencies, starting with the imple...


