DIY Delight: Craft Your Own Plant Shelves
Share
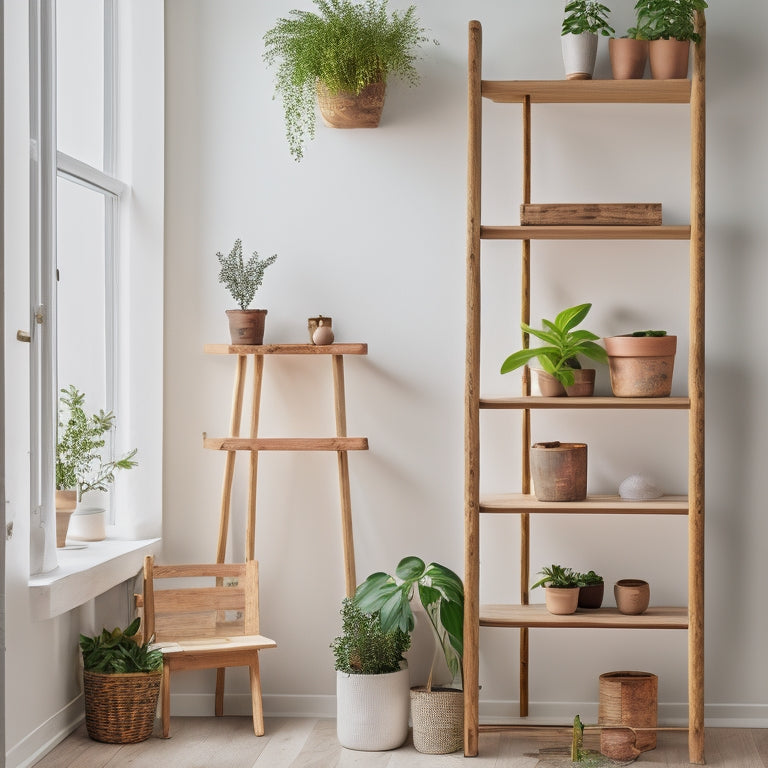
We're taking our interior design to new heights - quite literally - by crafting our own plant shelves that seamlessly blend style and functionality. We've gathered essential materials, including wood boards and plant pots, and turned to visual guidance to make sure our project turns out as envisioned. With precise cuts, drilling, and painting, we've crafted shelves that exude a rustic-yet-modern charm. Now, we're ready to assemble and install our shelves, deciding on a hanging option that fits our needs. As we add the final touches, we can't wait to see our handmade plant shelves come to life and elevate our home office decor.
Key Takeaways
• Choose the right materials, including boards with a natural finish and elegant plant pots, to create a rustic yet modern look.
• Follow a tutorial video or clear instructions to ensure each step, from measuring to attaching shelves, is executed correctly.
• Cut boards to size, make precise joints, and sand and paint for a cohesive look that blends with your home decor.
• Select a suitable hanging option, such as floating shelves or wall anchors, to securely attach your plant shelves to the wall.
• Arrange your plants thoughtfully to create a visually appealing and functional DIY plant shelf that adds style to your space.
Gathering Essential Materials
We're starting this project by gathering our essential materials, including two 1-IN x 6-IN x 6FT boards and one 1-IN x 6-IN x 8FT board, which will serve as the foundation for our wall-mounted plant shelves.
Our design calls for a rustic yet modern look, so we've chosen boards with a natural finish. To complement our shelves, we've selected MANDEL Plant Pots from IKEA, which will add a touch of elegance to our space. We'll also be using artificial potted plants to bring in some greenery.
Our toolkit includes a yard stick, drill, miter saw, nail gun, and other essentials. With our materials and tools in place, we're ready to proceed with the construction process.
Visual Guidance
For a clearer understanding of the project, let's watch a tutorial video that takes us through the step-by-step process of creating our wall-mounted plant shelves. This visual guidance will help us get started and guarantee our plant decor turns out exactly as we envision. As we begin this home improvement project, it's crucial to have a clear understanding of each step.
| Step | Description |
|---|---|
| 1 | Measure and cut boards to size |
| 2 | Assemble shelves using wood glue and nails |
| 3 | Paint shelves with Dovetail Gray paint |
| 4 | Attach shelves to the wall and add plant pots |
With this visual guidance, we'll be well on our way to creating a beautiful and functional plant shelf that adds a touch of greenery to our home office.
Crafting the Shelves
With our materials and tools at the ready, let's get started on crafting the shelves that will soon be home to our lush greenery. We'll begin by cutting our boards to size, ensuring each shelf is perfectly proportioned for our plant arrangement.
As we work, we'll draw design inspiration from the clean lines and minimalism of modern decor. With our Miter Saw, we'll make precise cuts, and our Drill will help us attach the smaller boards to the longer ones.
Next, we'll sand and paint the shelves a soothing Dovetail Gray, creating a cohesive look that will elevate our plant arrangement. With each step, we're bringing our vision to life, and soon we'll have a stunning plant shelf that adds a touch of greenery to our space.
Assembly and Installation
Now that our shelves are painted and sanded to perfection, it's time to bring everything together by attaching them to the wall and adding our beloved plant pots. We'll start by deciding on a plant arrangement that suits our style. Do we want a symmetrical look or a more eclectic vibe?
| Hanging Options | Description | Tools Needed |
|---|---|---|
| Floating Shelves | Invisible screws for a sleek look | Drill, Screws |
| Hooks | Simple and easy to install | Drill, Hooks |
| Brackets | Add a decorative touch | Drill, Brackets |
| Wall Anchors | Extra support for heavy pots | Drill, Wall Anchors |
| Adhesive Strips | No drilling required | Adhesive Strips |
We'll choose the hanging option that fits our needs and get to work. With our plant pots in place, our DIY plant shelves are finally taking shape!
The Finished Product
Our handmade wall-mounted plant shelves finally come to life, blending seamlessly into our home office's décor as we step back to admire the fruits of our labor.
The Dovetail Gray paint adds a sophisticated touch, while the MANDEL Plant Pots from IKEA and artificial plants bring in a pop of greenery.
The shelves' clean lines and uniformity create a stylish organization system, making the space feel more put together.
We've achieved a beautiful balance between form and function, with the plant shelves serving as decorative accents that add visual interest without overwhelming the room.
We're thrilled with the result and can't wait to enjoy our newly organized and stylish home office.
Frequently Asked Questions
Can I Use Different Sizes or Types of Plant Pots?
We love experimenting with pot variety, and yes, you can definitely mix and match different sizes and types of plant pots to create a unique container mix that reflects your personal style and adds visual interest.
How Do I Ensure the Shelves Are Level on the Wall?
As we hang our creations on the wall, we're like architects building a bridge between function and beauty. To secure our shelves are level, we use wall anchors and trusty bubble levels, guaranteeing a sturdy and stylish foundation for our lush additions.
Are There Alternative Paint Colors or Finishes Available?
We can definitely explore alternative paint colors and finishes for our plant shelves. How about adding Metallic Accents for a modern touch or achieving a Weathered Look with distressed finishes to give our shelves a unique character?
Can I Add More Than Three Shelves to the Wall?
We completely grasp the situation - sometimes three shelves just aren't enough! While we love the simplicity of our design, we acknowledge the need for customization options. Consider your space constraints and adjust the shelves to fit your unique needs.
Do I Need to Drill Into a Wall Stud for Hanging?
We investigate the importance of drilling into a wall stud for hanging and find that using wall anchors can provide sufficient support, especially for lighter loads, but it's vital to take into account the load capacity to guarantee a secure hold.
Related Posts
-

Innovative Hidden Storage for Modern Bathrooms
You're investing in a modern bathroom that's a serene oasis, and ample hidden storage is essential to maintaining tha...
-

Creative Open Shelving for Bathroom Displays
You're looking to change your bathroom into a serene oasis, and creative open shelving is the perfect way to showcase...
-

Boost Your Grades With Proper Citations
Proper citation is an important aspect of academic writing that can greatly impact the credibility and validity of re...


