Revamp Your Closet With Stylish DIY Shelves
Share
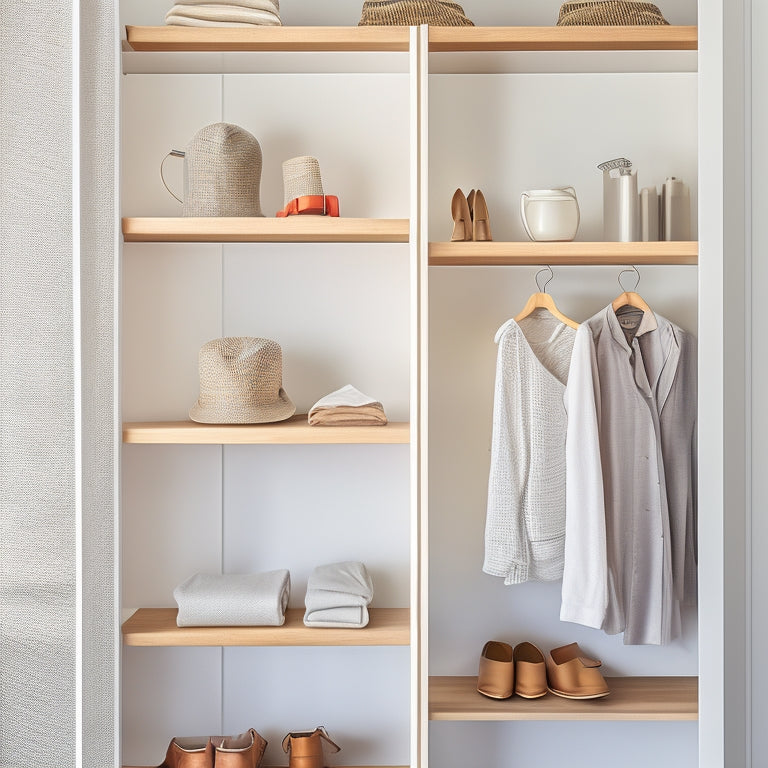
We're about to turn our cluttered closets into functional works of art, turning every morning's frustrating search for the perfect outfit into an invigorating ritual, courtesy of stylish DIY shelves that reflect our unique style and cater to our specific needs. By decluttering and designing shelves that maximize storage and accessibility, we're transforming our daily routines with organized closet spaces. With the right materials and tools, we can create custom shelves that add personality and functionality to our closet. Now, let's get started on building our dream closet – the perfect blend of style, storage, and serenity awaits.
Key Takeaways
• Design custom shelves that cater to your specific needs and unique closet layout for a functional and stylish space.
• Choose sturdy lumber like pine or oak and essential materials like wood glue, nails, and sandpaper for a smooth finish.
• Assemble your DIY shelves with precision using a mix of power and manual tools, ensuring a sturdy and level installation.
• Maximize storage and accessibility by allocating storage real estate, optimizing every nook and cranny, and adding decorative options.
• Transform your closet into a stylish oasis by adding bins, baskets, and storage solutions, and planning for items like shoes and accessories.
DIY Closet Shelves 101
We're excited to explore the world of DIY closet shelves, a cost-effective and easy approach to closet organization that can transform our morning routines and make getting dressed a whole lot easier.
By taking control of our closet layout, we can create a space that's both functional and stylish. The key is to design shelves that cater to our specific needs, whether that's maximizing vertical space or creating separate areas for different types of clothing.
A well-planned shelf design can make all the difference in keeping our closet organized and clutter-free. In this DIY project, we'll show you how to create custom shelves that fit your unique style and closet layout.
Decluttering for Organization
As we explore the world of decluttering, it's important to recognize that our closets are often a reflection of our lives, and the initial step towards creating a functional and stylish space is to confront the chaos that's been hiding behind those doors.
We've all been guilty of holding onto clothes, shoes, and accessories that no longer serve us, but it's time to let go. Closet organization is more than just tidying up - it's about creating a system that works for us.
Our decluttering tips? Start with a clean slate, sort items into categories, and be ruthless about what you really need. Donate, sell, or discard items that don't spark joy, and use storage bins to keep what's left.
Essential Materials and Tools
With our decluttered closet space ready for its makeover, let's explore the essential materials and tools needed to bring our stylish DIY shelves to life.
When it comes to tool selection, we'll need a mix of power tools and manual ones. A circular saw, drill, and sander will be our power tools of choice, while a tape measure, level, and clamps will help us achieve precision and stability.
As for material options, we'll opt for sturdy lumber like pine or oak, and consider the quantity needed based on our shelf design. Additionally, we'll need wood glue, nails, and sandpaper to guarantee a smooth finish.
Assembling Your Masterpiece
Now that we've gathered all the necessary materials and tools, it's time to bring our DIY closet shelves to life by disassembling the components, painting, cutting, and assembling the final pieces.
We'll start by arranging our shelves in a way that maximizes storage and accessibility, considering factors like shelf depth and spacing.
Next, we'll add a pop of personality with decorative options like colorful paint, distressed finishes, or elegant hardware.
As we assemble our masterpiece, we'll take care to guarantee a sturdy and level installation.
With every piece falling into place, our closet is transforming into a stylish and functional oasis.
Customizing Your Closet Space
Customizing our closet space means we get to decide how we want to allocate our newly created storage real estate, ensuring every nook and cranny is optimized for our personal style and needs.
As we finalize our DIY closet shelves project, it's essential to think about our closet design and how we can maximize our storage solutions. We consider the items we need to store, from shoes to accessories, and plan accordingly. By doing so, we can create a functional and stylish space that reflects our personality.
We can also add bins, baskets, and other storage solutions to keep our belongings organized and within reach. With a little creativity, our closet space can transform into a haven that makes our daily routine more efficient and enjoyable.
Frequently Asked Questions
Can I Use MDF Boards Instead of Solid Wood for the Shelves?
We've wondered if MDF boards could replace solid wood for our shelves, and honestly, it's a cost-effective option, but we'd have to make an aesthetic compromise - MDF's smooth finish might lack the natural charm we're after.
How Do I Prevent the Shelves From Sagging Over Time?
We secure our shelves from sagging over time by focusing on shelf reinforcement, carefully calculating load capacity, and using sturdy materials to distribute weight evenly, guaranteeing a sturdy and reliable storage space that lasts.
Are There Any Specific Safety Precautions for Working With Power Tools?
When working with power tools, we always make sure to prioritize safety by performing regular tool maintenance and wearing necessary safety gear, such as gloves and goggles, to minimize the risk of accidents and injuries.
Can I Add a Lip or Edge to the Shelves to Prevent Items From Falling?
We can easily add a lip or edge to our shelves by attaching decorative trim, creating a protective barrier that prevents items from falling, and giving our DIY project a polished, professional finish.
Do I Need to Prime the Wood Before Applying the Sealer or Stain?
We typically prime the wood to guarantee a strong bond between the wood grain and sealer or stain, promoting better paint adhesion and a professional finish, but it's not always necessary, depending on the type of wood and sealer used.
Related Posts
-

Space-Efficient Shower Organizers for Modern Apartments
If you're looking to maximize space in your modern apartment's shower, consider clever organizers that blend style wi...
-

Transform Your Life With Organized Home PLR
By transforming your living space with organized home PLR, you'll awaken a profound shift in mental clarity, energy, ...
-

Contractor's Cost-Saving Tile Strategies and Designs
When tackling a tile project, I've learned that smart design decisions can lead to significant savings. By prioritizi...


