Stylish Bathroom Makeover Inspires DIY Enthusiasts
Share
As a DIY enthusiast, I was thrilled to tackle my outdated bathroom's makeover. I opted for a crisp white color scheme and durable paint, perfect for the humid environment. Painting tips I learned from redoing my kitchen cabinets came in handy, and the result was a stunning, functional space. I discovered the magic of KILZ primer, expert sanding techniques, and the importance of choosing the right top coat. The transformation was nothing short of dazzling, and I'm excited to share my journey with fellow DIY enthusiasts. Now, get ready to uncover the secrets behind my stylish bathroom makeover...
Key Takeaways
• A crisp white color scheme and durable paint can transform an outdated bathroom into a visually appealing space.
• Mastering painting techniques, such as smooth brush strokes and deliberate color choices, is crucial for a professional-looking finish.
• Selecting the right primer, like KILZ Adhesion primer, and following expert sanding techniques can ensure a flawless finish on cabinets.
• Durability and moisture resistance are essential considerations when choosing a top coat for a bathroom makeover.
• With the right techniques and products, DIY enthusiasts can achieve a stunning bathroom transformation that inspires others.
Bathroom Transformation Before After
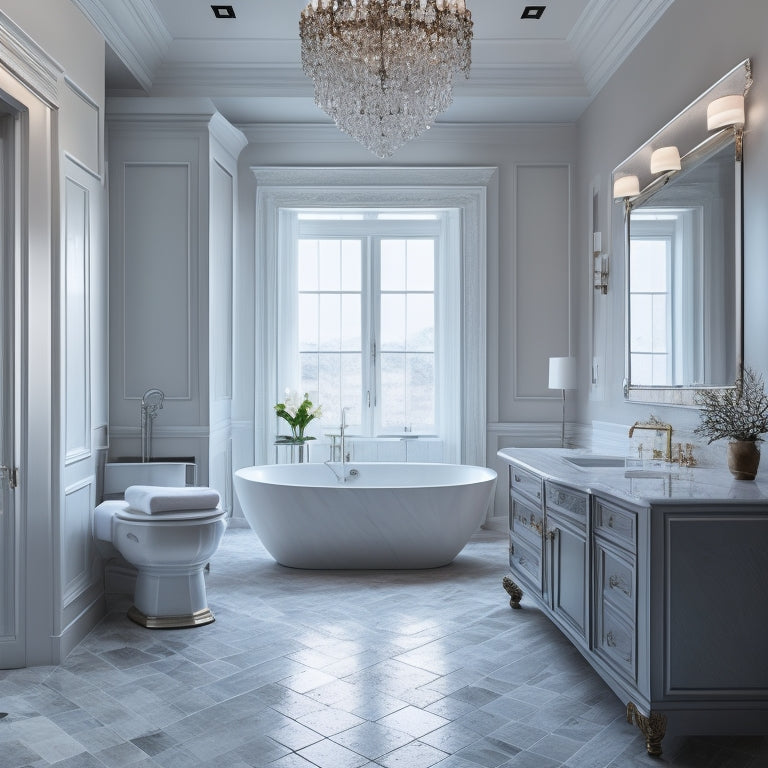
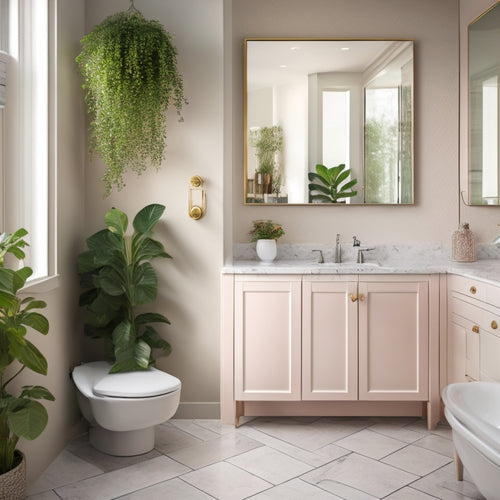
My outdated bathroom underwent a stunning metamorphosis, transforming from a dull, uninspiring space to a sleek, modern oasis that exudes sophistication and style.
I opted for a crisp white color scheme, which instantly brightened the room and created a sense of calm. To achieve this look, I selected a durable paint that would withstand the humid bathroom environment.
I also incorporated painting tips I learned from redoing my laminate kitchen cabinets, such as sanding and priming the surface before applying the final coat.
The result is a bathroom that's not only visually appealing but also functional and long-lasting.
With the right color choices and painting techniques, even the most outdated space can be transformed into a stunning retreat.
Painting Cabinets With KILZ
As I ventured into the world of cabinet makeover, I discovered the magic of KILZ primer, which played a starring role in transforming my laminate kitchen cabinets from dull to dazzling. To achieve a flawless finish, I employed expert sanding techniques, ensuring a smooth surface for painting. Next, I carefully selected a cabinet color that would complement the bathroom's overall aesthetic.
| Sanding Techniques | Cabinet Color Choices |
|---|---|
| Lightly sand with 220-grit sandpaper | Soft whites and creams for a calming atmosphere |
| Wipe down with a tack cloth | Rich blues and greens for a bold statement |
| Sand in the direction of the wood grain | Neutral grays and beiges for a timeless look |
| Use a sanding block for flat surfaces | Bold yellows and oranges for a vibrant pop of color |
Choosing the Right Primer
With an essential finish in mind, I explored the world of primers, keen to uncover the secrets of selecting the perfect one to guarantee a durable, long-lasting bond between the old cabinets and their fresh new coat of paint.
As I delved deeper, I realized that primer selection is a critical step in surface preparation. A good primer not only creates a strong bond but also secures a smooth, even finish.
For my bathroom makeover, I opted for KILZ Adhesion primer, which is specifically designed for laminated surfaces. By following painting tips like sanding and cleaning the surface before applying the primer, I achieved a strong foundation for my finishing touches.
With the right primer, I was confident that my cabinets would look stunning and remain durable for years to come.
Top Coat Requirements Explained
I explore the world of top coats, searching for the perfect finishing touch to seal in the beauty and durability of my freshly painted cabinets. When refinishing furniture, a top coat is essential to protect the surface from wear and tear.
Here are some key requirements to keep in mind:
-
Durability: The top coat should be able to withstand daily use and cleaning.
-
Adhesion: Make sure the top coat bonds well with the primer and paint for a strong finish.
-
Moisture resistance: A water-resistant top coat is important in humid bathroom environments.
- Aesthetics: Choose a top coat that complements the color and sheen of your paint for a cohesive look.
DIY Enthusiasts Share Feedback
Sixteen comments poured in, filled with praise, questions, and valuable insights from DIY enthusiasts who were inspired by the stylish bathroom makeover.
As I scrolled through the feedback exchange, I was thrilled to see readers sharing their enthusiasm for the project. Susan, Sandra, and Robin were among those who expressed admiration for the transformation, asking questions about product choices and painting techniques. Mad in Crafts responded to each inquiry, providing detailed explanations and recommendations.
The conversation revolved around painting techniques, primer selection, and maintaining the painted surface. It's evident that many are keen to replicate the project, and I'm excited to see their own creative interpretations.
This feedback exchange has been invaluable, and I'm grateful for the opportunity to connect with like-minded DIY enthusiasts.
Mad in Crafts Creative Resources
Beyond the inspiring bathroom makeover, I'm excited to explore the treasure trove of creative resources available on Mad in Crafts, where DIY enthusiasts can discover a wealth of free SVG files, printables, and more.
As I investigate the website, I'm struck by the abundance of DIY inspiration and creative ideas that await. Whether you're looking to spruce up your home decor or tackle a crafty project, Mad in Crafts has got you covered.
Here are just a few of the resources that caught my eye:
-
Free SVG files: Perfect for customizing your own signs, decorations, and more.
-
Printable art: Add a personal touch to your walls with these beautiful designs.
-
DIY tutorials: Step-by-step guides to help you tackle even the most ambitious projects.
- Crafty ideas: From upcycled decor to handmade gifts, Mad in Crafts has a wealth of inspiration to get you started.
Painting Techniques for Success
With a well-executed painting project, like the stylish bathroom makeover, the key to achieving a professional-looking finish lies in mastering the right techniques and using high-quality products. I've found that smooth brush strokes and deliberate color choices can make all the difference.
To guarantee an even coat, I work in small sections, feathering the edges with gentle strokes. When it comes to color, I opt for shades that complement the space, like the soft gray used in the bathroom makeover.
After applying the final coat, I allow ample drying time before cleaning up any spills or drips. By following these painting techniques and using excellent products, you'll be well on your way to achieving a stunning, professional-looking finish that will leave your friends and family in awe.
Frequently Asked Questions
How Do I Clean the Cabinets Before Priming and Painting?
"Oh, the dusty shelves and cabinet organizers I've neglected for ages! Before priming and painting, I vacuum and wipe down surfaces with a damp cloth, then use a gentle degreaser to remove grime and grease - it's a game-changer!"
Can I Use a Roller to Paint the Cabinets for a Smooth Finish?
"I recommend using a high-nap roller for a smooth finish, but be cautious with the roller technique to avoid texture buildup. Opt for a low-sheen paint to minimize roller marks and achieve a flawless look."
What Is the Ideal Temperature for Painting Cabinets?
'When it rains, it pours, and I'm not talking about the paint! For a flawless finish, I recommend painting cabinets between 60-80°F (15-27°C), ensuring ideal drying and adhesion for your chosen Color Options from top Paint Brands like Old Village and Pittsburgh.'
How Long Does It Take for the Paint to Fully Cure on Cabinets?
'I'm often asked how long it takes for paint to fully cure on cabinets. Honestly, it depends on the type of paint and environmental conditions, but typically, it can take anywhere from 7 to 30 days for best durability and cure time.'
Can I Use a Polyurethane Top Coat Over Latex Paint on Cabinets?
"I love exploring finish options for cabinets! When it comes to using a polyurethane top coat over latex paint, I recommend choosing a water-based poly for a clear, non-yellowing finish that enhances color choices."
Related Posts
-

Stylish Corner Cabinet Ideas for Bathrooms
Looking to enhance your bathroom with stylish corner cabinets? You can maximize space and improve aesthetics at the s...
-

Discover Essential Korean Vocabulary for Beginners
You'll need to master a range of essential Korean vocabulary to effectively communicate and navigate everyday situati...
-

Revolutionizing Mimosa Bars With Creative Printables
Revolutionize your mimosa bar with creative printables that take the experience to the next level. Elevate the setup ...


