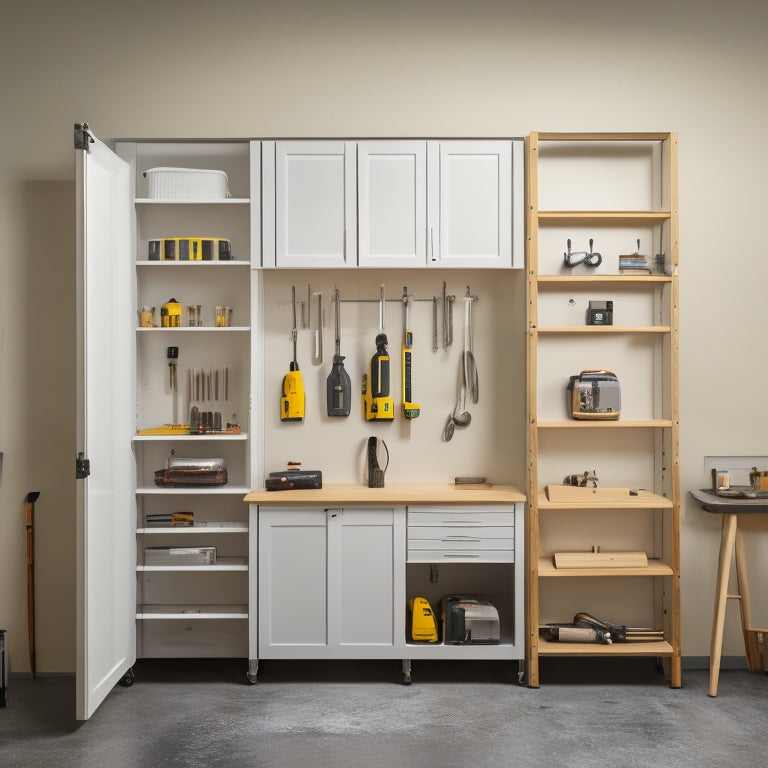
5 Steps to Installing Wall Cabinet Shelves
You'll start by preparing your wall cabinet area, clearing it of items, inspecting the materials, and checking the manufacturer's specifications for shelf weight capacity. Next, measure and mark shelf locations, considering the height of items and spacing between shelves, and align them with wall studs. Then, assemble the shelf frame, attaching upright pieces to top and bottom plates, and secure the shelf board. After that, attach the shelves to the wall using wall anchors, ensuring they're level and secure. Finally, add finishing touches, incorporating decorative accents and utilizing organizing tips, but there's more to investigate to get the most out of your installation.
Key Takeaways
- Prepare the wall cabinet area by clearing it, inspecting materials, and checking manufacturer's specifications for shelf weight capacity.
- Measure and mark shelf locations, considering item height, spacing, and wall studs for sturdy installation.
- Assemble the shelf frame using upright pieces, shelf boards, plates, screws, and shelf pins, ensuring corners are square and the frame is level.
- Attach shelves to the wall using appropriate anchors, securing them firmly to prevent slippage or collapse, and double-checking for levelness.
- Add finishing touches, such as decorative accents, organizing tips, and personalized items, to enhance aesthetics and functionality.
Prepare the Wall Cabinet Area
Clear the wall cabinet area of any items, including shelves, drawers, or decorations, to assure a clean slate for your installation project. This is your chance to declutter and get rid of anything you no longer need – consider it a mini-organizational therapy session.
Remove any existing shelves, and set them aside for now. Take this opportunity to inspect the wall cabinet materials and confirm they're sturdy enough to support the weight of your new shelves and whatever you plan to store on them. Check the manufacturer's specifications for the shelf weight capacity to avoid any potential disasters.
Next, give the area a good dusting and vacuuming to remove any debris or dirt that might interfere with your installation. This is also a good time to inspect the walls for any damage or unevenness that could affect the installation process.
Take note of any electrical outlets, plumbing, or other obstacles that might get in the way of your shelves. With a clean and clear space, you're ready to move on to the next step – measuring and marking the shelf locations.
Measure and Mark Shelf Locations
Measure and Mark Shelf Locations
Now that your wall cabinet area is prepped, it's time to get precise about where those shelves will go. You want to make certain they're spaced just right to fit your favorite cookbooks, dinner plates, or whatever treasures you're storing.
To determine the perfect shelf height, consider the items you'll be storing and the space available. Think about the average height of the items and leave about 1-2 inches of clearance above and below.
You should also consider the spacing between shelves – typically 12-18 inches apart.
Here are some key considerations to keep in mind:
- Shelf height: Measure the height of the items you'll be storing and leave some clearance for easy access.
- Spacing considerations: Decide on the ideal distance between shelves to accommodate your storage needs.
- Wall stud alignment: Make certain to align your shelves with the wall studs to guarantee a sturdy installation.
Assemble the Shelf Frame
With your shelf locations marked, you're ready to build the shelf frame. Now it's time to gather your shelf materials and installation tools. You'll need the following components:
| Component | Quantity | Description |
|---|---|---|
| Upright pieces | 2 | Vertical frame components |
| Shelf boards | 1 | Horizontal shelf surface |
| Top and bottom plates | 2 | Horizontal frame components |
| Screws | 8 | Fasteners for assembling the frame |
| Shelf pins | 4 | Supports for the shelf board |
Using your installation tools, assemble the shelf frame by attaching the upright pieces to the top and bottom plates. Make certain the corners are square and the frame is level. Next, attach the shelf board to the frame using the screws. Finally, insert the shelf pins into the upright pieces to support the shelf board. Double-check your work to verify the frame is sturdy and level. Once you've completed the shelf frame, you're ready to move on to the next step.
Attach Shelves to the Wall
You've completed the shelf frame, and now it's time to secure it to the wall. This is the most critical step in ensuring your shelves can hold the weight you need them to.
When selecting shelf materials, consider the weight capacity you require. Will you be storing heavy cookbooks or light decorative items? Choose materials that can support your intended load.
Here are a few things to keep in mind when attaching your shelves to the wall:
-
Use wall anchors: They help distribute the weight more evenly and provide extra support.
-
Check the wall type: Different walls require different types of anchors. Make sure you're using the right one for your wall type (drywall, plaster, etc.).
-
Level it up: Double-check that your shelves are level before securing them to the wall. You don't want your decorations sliding off due to uneven shelves!
Add Finishing Touches
Now that your shelves are securely attached to the wall, it's time to focus on the aesthetics. You've done the hard part, and now it's time to make your wall cabinet shelves look spectacular.
Add some decorative accents to give your shelves a personal touch. You can add crown molding, trim, or even some decorative brackets to make your shelves stand out.
Next, think about organizing tips to maximize your shelf space. You can add baskets, bins, or dividers to keep your items tidy and easy to find.
Consider installing a pegboard or hooks to hang items like utensils, bags, or accessories. If you have a lot of small items, think about adding a small tray or dish to corral them.
Frequently Asked Questions
Can I Install Shelves in a Cabinet With a Curved Wall?
You're wondering if you can tame that curved wall cabinet with shelves? Yes, you can! Investigate curved shelf options, but be prepared for installation challenges, like tricky measurements and wonky leveling - it's not for the faint of heart, but the result will be worth the hassle!
How Do I Clean the Wall Cabinet Before Installing Shelves?
Before installing shelves, you'll want to give your wall cabinet a good scrub - dust, dirt, and grime can affect shelf materials' adhesion. Try gentle cleaning techniques like a damp cloth or a microfiber duster to get the job done without damaging the surface.
Are Wall Cabinet Shelves Suitable for Heavy Objects?
Coincidentally, you're wondering if wall cabinet shelves can handle the weight of your grandma's antique vase collection. Well, the answer depends on the weight capacity of the shelf materials - typically, 20-50 pounds per shelf, but check the manufacturer's specs to avoid a decorative disaster!
Can I Use Glass Shelves in My Wall Cabinet?
You wonder if glass shelves are a good fit for your wall cabinet. Yes, you can use them, but consider the shelf weight limits and choose tempered glass or laminated glass shelf materials to guarantee safety and durability.
Do I Need to Hire a Professional for This Installation?
Imagine yourself as a DIY rockstar, wielding power tools like a pro! But, before you start, ask yourself: do you have the right tools needed and installation tips under your belt? If not, it's time to call in a pro to avoid a shelving disaster!
Conclusion
You've gone from a blank wall to a sleek storage system in just five steps. The chaos of cluttered countertops is now a distant memory, replaced by the serenity of organized kitchen essentials. As you step back to admire your handiwork, the satisfaction of a DIY job well done washes over you. Your new wall cabinet shelves are more than just a practical solution – they're a reflection of your creativity and DIY prowess.
Related Posts
-
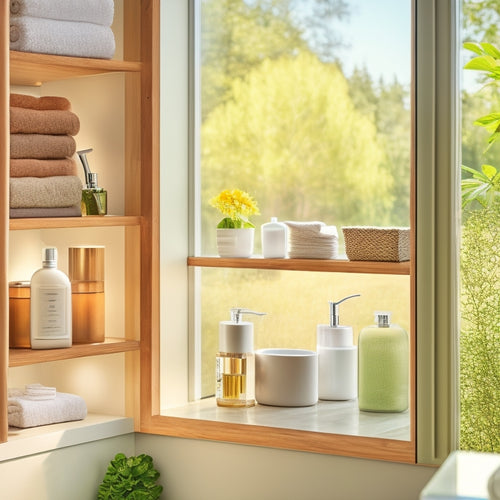
Top-Rated Compact Shower Caddies for Small Showers
When searching for top-rated compact shower caddies for small showers, focus on space-saving designs that maximize ve...
-
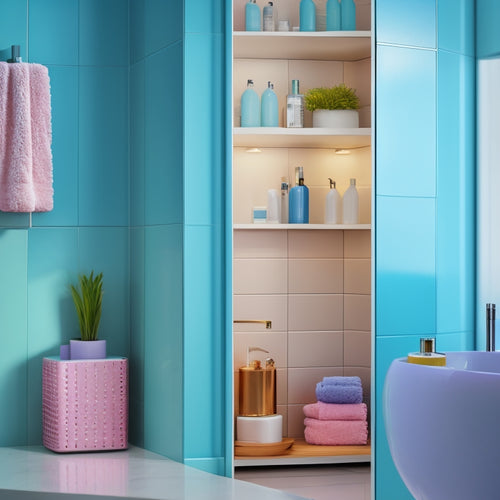
Modular Storage for Bathroom Decluttering
Modular storage is your solution for effective bathroom decluttering. It maximizes every inch of space, allowing cust...
-
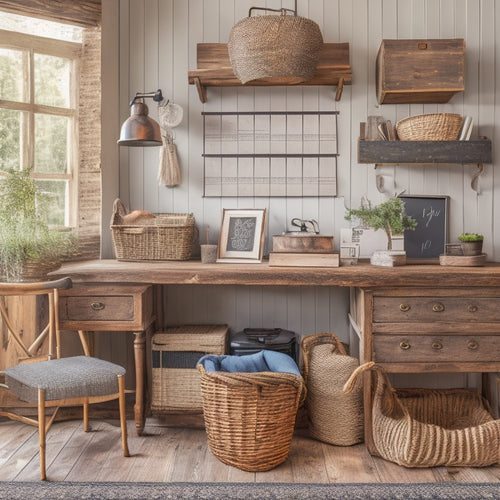
Farm Family's Organized Office: A Detailed Look
I've created a well-organized office space that helps my farm family stay productive and focused. My desk is organize...


