7 Essential Tips for Cabinet Organization Bliss
You're just a few tweaks away from transforming your cluttered cabinet into a serene and functional space. Start by purging and categorizing your bathroom items, eliminating clutter and grouping similar items together. Assign a home for essentials, utilizing vertical storage space and choosing the right storage containers. Implement a labeling system, store heavy items at the bottom, and maintain your organized cabinet with regular audits. By following these essential tips, you'll increase your productivity and reduce stress. Take the first step towards cabinet organization bliss, and discover how these simple tweaks can revolutionize your daily routine.
Key Takeaways
• Eliminate clutter by purging expired or unused items and categorize remaining items into groups like skincare and oral care for a more organized cabinet.
• Assign a home for essentials by creating designated zones for specific categories of items, considering height and accessibility of each shelf.
• Utilize vertical storage space by installing shelves, baskets, or turntables to maximize storage space without overcrowding.
• Choose the right storage containers that fit snugly in the cabinet, consider aesthetics and color scheme, and tailor containers to the items being stored.
• Implement a labeling system with easy-to-read labels, incorporating color coding for efficient item location and maintaining a consistent look throughout the cabinet.
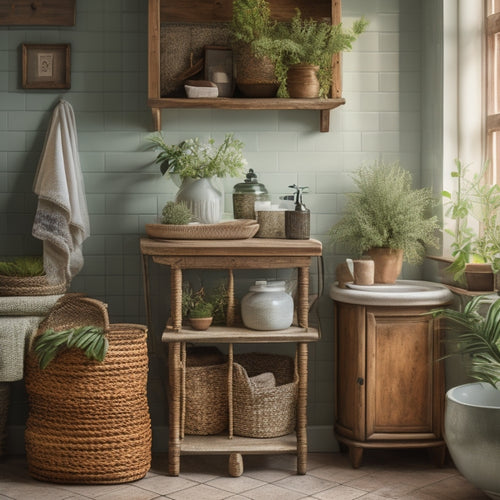
Purge and Categorize Bathroom Items
Begin by gathering all bathroom items, from toiletries and skincare products to towels and trash cans, and sort them into categories, such as 'keep,' 'donate,' 'recycle,' and 'toss.' This step is essential in achieving cabinet organization bliss. You'll be surprised at how much clutter you can eliminate by getting rid of expired or unused items.
As you sort, consider current bathroom trends, such as minimalism and sustainability. Ask yourself, 'Do I really need this?' or 'Can I replace this with a more eco-friendly alternative?'
Once you've purged your bathroom items, categorize what's left into groups like skincare, haircare, and oral care. This will make it easier to assign a home for each item later on. Storage hacks like using baskets, bins, and shelves can help keep similar items together and make the most of your cabinet space.
Assign a Home for Essentials
Now that you've categorized your bathroom items, it's time to decide where each group will live in your cabinet, ensuring everything has a designated spot that makes sense for your daily routine.
Assigning a home for essentials means creating designated zones within your cabinet, where each zone is dedicated to a specific category of items. This approach enables you to maintain an essential flow, where everything is easily accessible and easy to find.
Start by identifying the items you use daily and allocate a prime spot for them. For instance, place your morning skincare routine products near the front of the cabinet, while less frequently used items can be stored towards the back.
Consider the height and accessibility of each shelf, reserving lower shelves for heavier or bulkier items. By thoughtfully assigning a home for each essential, you'll create a sense of order and harmony in your cabinet, making your daily routine more efficient and stress-free.
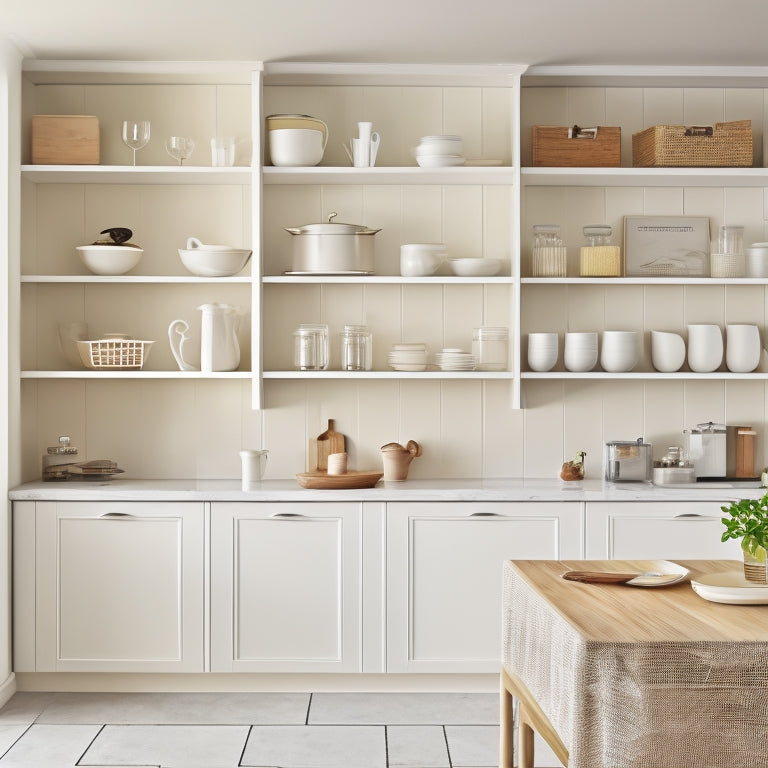
Utilize Vertical Storage Space
Maximize your cabinet's vertical storage space by installing shelves, baskets, or turntables that reach up to the top, ensuring every inch is used efficiently. This will allow you to store more items without overcrowding the cabinet floor.
By maximizing your shelves, you can store less frequently used items towards the top and reserve the lower shelves for everyday essentials.
Consider installing pegboards on the back of a cabinet door or on a wall to hang items like utensils, spices, or cleaning supplies. This will keep them organized and easily accessible.
Take advantage of the often-wasted space above your cabinets by installing overhead shelves or storage units. These can be used to store infrequently used items like special occasion dishes or seasonal decorations.
Choose the Right Storage Containers
Select storage containers that are tailored to the items you need to store, ensuring a snug fit that prevents clutter from accumulating around them. This will help maintain a sense of organization and make it easier to find what you need when you need it.
When choosing storage containers, consider the following factors:
-
Container Materials: Opt for durable, easy-to-clean materials like plastic, metal, or wood that can withstand the weight and type of items you're storing.
-
Storage Aesthetics: Select containers that complement your cabinet's style and color scheme to maintain a cohesive look.
-
Size and Shape: Choose containers that fit snugly in your cabinet, maximizing storage space and minimizing wasted areas.
- Accessibility: Consider containers with easy-open lids or handles for effortless access to your stored items.
Implement a Labeling System
With a clear understanding of your storage containers, you can now turn your attention to implementing a labeling system that helps you quickly identify what's inside each container. A well-designed labeling system is essential to maintaining your newly organized cabinet space. Start by deciding on a label design that's easy to read and understand. You can choose from various label sizes, shapes, and colors to create a consistent look throughout your cabinet.
To take your labeling system to the next level, incorporate color coding. Assign a specific color to each category of items, such as kitchen utensils, cleaning supplies, or office materials. This visual cue will help you locate items quickly and efficiently. For instance, you can use blue labels for kitchen items and green labels for cleaning supplies.
Store Heavy Items at Bottom
Now that you've implemented a labeling system, it's time to contemplate the physical arrangement of items within your cabinet, starting with the simplest and most logical approach: storing heavy items at the bottom. This makes perfect sense, as it guarantees weight distribution and floor stability. You wouldn't want your cabinet to tip over, would you?
Here are some key considerations to keep in mind:
-
Heavy appliances: Store your heaviest appliances, such as slow cookers or stand mixers, at the bottom of your cabinet to maintain weight distribution.
-
Large containers: Place large, heavy containers or canisters at the bottom to prevent them from falling and breaking.
-
Bulky items: Store bulky items like pots, pans, or Dutch ovens at the bottom to maintain floor stability.
- Heavy cookbooks: Even heavy cookbooks can cause instability if stored at the top, so keep them at the bottom to maintain balance.
Maintain Your Organized Cabinet
Now that you've organized your cabinet, it's crucial to maintain it to make sure it remains clutter-free.
You'll want to schedule regular maintenance to keep your cabinet organized and functional.
Schedule Regular Maintenance
Set aside a few minutes each week to perform quick cabinet audits, guaranteeing your organized space stays clutter-free and functional over time. By doing so, you'll prevent clutter from building up and keep your cabinet organized and efficient.
To maintain your cabinet's organization, follow these simple steps:
-
Daily Reminders: Take a minute each day to quickly tidy up your cabinet, putting away items that are out of place.
-
Weekly Quick Pick: Set aside 10-15 minutes each week to remove any items that don't belong in your cabinet and put them back in their rightful place.
-
Monthly Review: Schedule a monthly review of your cabinet's contents to ensure everything is still organized and functional.
- Seasonal Deep: Perform a deeper clean and organization of your cabinet on a seasonal basis (e.g., every 3-4 months) to keep your cabinet in top shape.
Purge Unused Items Often
To maintain your newly organized cabinet, regularly go through its contents and eliminate items that no longer serve a purpose or have outlived their usefulness. This is essential to prevent clutter from building up again.
Adopt a decluttering mindset and be ruthless – if you haven't used it in the past year, it's probably safe to get rid of it. Set a reminder to do a seasonal refresh every few months to keep your cabinet organized and functional.
As you purge, ask yourself: 'When was the last time I used this item?' or 'Do I still have a purpose for this?' Be honest with yourself, and don't get sentimental about items that no longer serve you. Remove anything broken, expired, or unnecessary, and consider donating gently used items.
Frequently Asked Questions
How Do I Organize Cabinets With Slanted or Angled Shelves?
"As you tackle the puzzle of slanted shelves, imagine a perfectly orchestrated storage symphony. You'll need shelf dividers to corral items, angled trays to maximize space, and inclined baskets to cradle fragile goods - harmony achieved!"
Can I Use Baskets or Bins With Lids in Humid Environments?
You can use baskets or bins with lids in humid environments, but make sure they're designed with moisture protection and climate control in mind to maintain a dry interior and prevent mold growth.
What Are Some Alternatives to Adhesive Labels for Cabinet Organization?
You can ditch adhesive labels for cabinet organization by using chalk markers to write directly on containers or shelves, or try color coding with stickers or tabs to categorize items without the hassle of labels.
How Often Should I Clean and Maintain My Organized Cabinets?
While chaos lurks in every corner, you maintain order with a Seasonal Refresh, reassessing contents and wiping down shelves. Between, establish Daily Habits: weekly tidies and monthly deep cleans to keep your organized cabinets in pristine condition.
Can I Use Stackable Containers With Different Size Items Inside?
You can definitely use stackable containers with different size items inside, ensuring container compatibility and flexible storage; just group similar items together and label each container for easy access and efficient storage.
Related Posts
-
Unique Vintage Bathroom Storage Furniture
Unique vintage bathroom storage furniture seamlessly blends timeless elegance with practical functionality, altering ...
-
Craft a Functional Bedside Caddy Today
Craft a functional bedside caddy by first gathering essential materials, including durable background fabric, contras...
-

Innovative Miro Applications: Beyond the Usual
Miro's capabilities surpass traditional boundaries, offering a domain of innovative applications waiting to be explor...


