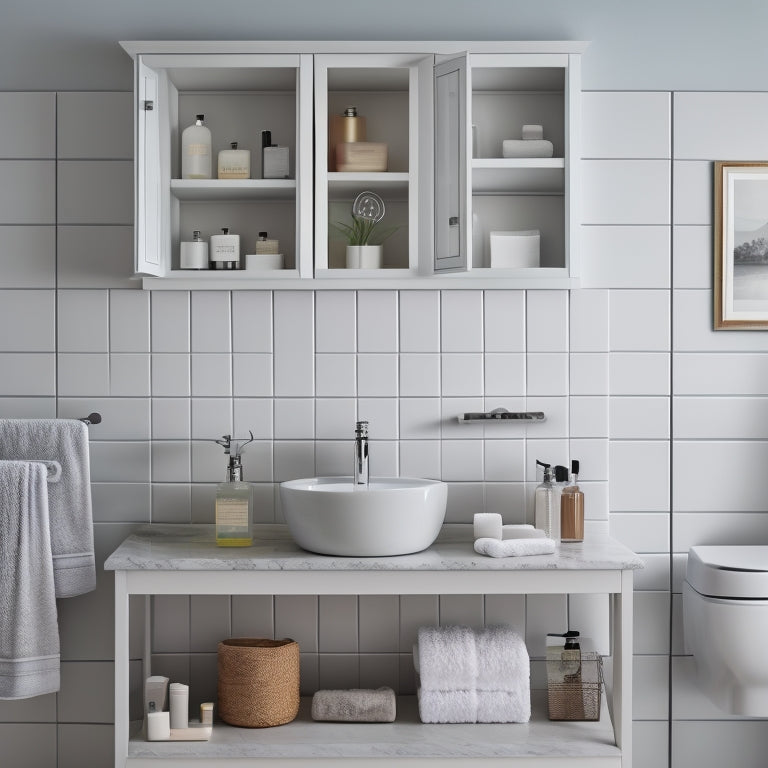
Bathroom Vanity Wall Shelf Installation Tips and Tricks
When installing a bathroom vanity wall shelf, you'll want to choose a shelf that complements your bathroom's style and meets your storage needs. Measure the wall carefully, considering obstacles like outlets, and prepare the surface by cleaning and repairing any cracks. Select a durable, moisture-resistant material and gather the necessary tools and materials. Confirm accurate measurements and level alignment during installation, and consider hiding unsightly brackets with decorative trim. Finally, add finishing touches like greenery or under-shelf lighting to complete the look. By following these tips, you'll be well on your way to creating a beautiful and functional bathroom space - and there's even more to investigate.
Key Takeaways
- Choose a shelf that matches your bathroom's aesthetic, considering style, color, and storage needs, to ensure a cohesive look.
- Measure the wall accurately, accounting for obstacles, and mark the shelf's placement using a level for straight alignment.
- Prepare the wall by cleaning it with mild detergent, repairing cracks, and ensuring a secure installation with anchors or fasteners.
- Select durable, moisture-resistant materials, such as stainless steel or glass, and prioritize weight capacity based on intended shelf load.
- Double-check measurements and material compatibility before installation, and consider additional supports for heavier shelves.
Choosing the Right Vanity Shelf
You're about to take the first step towards a beautifully organized bathroom - choosing the right vanity shelf. This is where the magic begins, and trust us, it's not as intimidating as it sounds!
With so many shelf styles out there, it's crucial to narrow down your options. Are you a fan of modern and sleek, or do you lean towards traditional and ornate? Consider the overall aesthetic you want to achieve in your bathroom. Think about the color coordination too - will your shelf blend in with the existing color scheme or make a bold statement?
When selecting a shelf style, consider the items you'll be storing. If you have a lot of small toiletries, a shelf with built-in compartments or dividers might be a great choice. On the other hand, if you're looking to showcase decorative items, a simple, open shelf could be the way to go.
Measuring for a Perfect Fit
Accurate measurements are key to a successful vanity shelf installation. You don't want your shelf to be too high or too low, or worse, not fit at all. So, grab your tape measure and let's get started!
First, decide on the shelf height that suits your needs. Consider the height of your sink, the mirror, and your personal comfort level. A good rule of thumb is to place the shelf between 30 to 40 inches above the floor.
Next, measure the width of the wall where you'll be installing the shelf. Make certain to take into account any obstacles like electrical outlets or plumbing fixtures.
You should also inspect the wall texture to determine if you need special anchors or fasteners. For example, if you have a tile or glass wall, you'll need to use anchors that can grip into those surfaces.
Lastly, double-check your measurements to verify accuracy. You can't be too careful when it comes to measuring for a perfect fit.
Preparing the Bathroom Wall
Now that you've got your measurements, it's time to prepare the bathroom wall for the vanity shelf installation. This step is essential, as it guarantees a smooth and secure installation.
Start by clearing the area around the wall of any clutter, towels, or toiletries. You don't want any obstacles getting in the way of your wall preparation techniques.
Next, inspect the wall for any cracks, holes, or uneven surfaces. If you find any, fill them in with joint compound or spackling paste and sand them down to a smooth finish. This will provide a solid base for your shelf.
Now, it's time to clean the surface. Use a gentle surface cleaning method, such as a damp cloth or a mild detergent, to remove any dirt, grime, or soap scum. Avoid harsh chemicals or abrasive cleaners, as they can damage the wall's surface.
With the wall clean and smooth, you're ready to start marking the spot where your shelf will go. Use a level and a pencil to draw a straight line along the wall, indicating the shelf's placement. This will serve as a guide for the rest of the installation process.
Selecting the Ideal Shelf Material
When choosing a shelf material for your bathroom vanity wall shelf, you'll want to contemplate factors that affect durability, such as the material's resistance to humidity and water exposure.
You'll also have options for wood grain, ranging from modern and sleek to traditional and ornate.
Additionally, look for features that enhance moisture resistance, such as special coatings or treatments.
Material Durability Factors
Your bathroom vanity wall shelf will be subjected to humidity, water splashes, and daily wear and tear, making material durability a critical factor in your selection.
You don't want your shelf to warp, crack, or disintegrate under the pressure. When choosing a material, take into account the shelf load it can support. Think about the weight of the items you plan to store on it, and select a material that can handle it.
Durable materials like stainless steel, glass, and high-quality plastics are great options. They're resistant to corrosion, easy to clean, and can withstand the humid bathroom environment.
Avoid materials like MDF or low-quality woods that can absorb moisture and swell. You'll also want to take into account maintenance tips, such as cleaning your shelf regularly to prevent soap scum buildup and water spots.
Wood Grain Options Available
Selecting the ideal shelf material involves evaluating various wood grain options. You want a material that complements your bathroom's style and stands up to the humid environment.
When choosing a wood grain, think about the aesthetic you want to achieve. Do you prefer a classic, natural look or a modern, sleek vibe?
Here are some popular wood grain options to evaluate:
-
Oak finishes: Add a touch of sophistication with oak's distinctive grain pattern, which works well with traditional or rustic bathroom styles.
-
Laminate textures: Get the look of real wood without the hefty price tag. Laminate options mimic the appearance of wood, but are more durable and low-maintenance.
-
Reclaimed wood: Go for a unique, eco-friendly option that adds character to your bathroom. Reclaimed wood shelves can bring a touch of history to your space.
Moisture Resistance Features
Bathroom humidity can wreak havoc on your shelves, so it's crucial to prioritize moisture resistance when choosing the ideal shelf material. You don't want your beautiful shelves to turn into a warped, waterlogged mess, right?
To guarantee your shelves stay sturdy and stylish, look for materials with built-in moisture resistance features.
Opt for shelves made from materials like stainless steel, glass, or resin, which are naturally resistant to moisture. If you prefer wood, choose a type that's been treated with moisture-resistant coatings or has natural water-repellent properties, like teak or bamboo. These materials will help maintain humidity control and prevent water damage.
Additionally, consider applying a moisture-resistant coating to your shelves, such as a waterproof varnish or sealant. This extra layer of protection will give you peace of mind, especially in humid bathroom environments.
Tools and Materials Needed
You'll need a specific set of materials and tools to guarantee a successful bathroom vanity wall shelf installation.
Gather essential materials like wall anchors, screws, and wood glue, as well as a level, drill, and tape measure.
Having these tools and materials at your disposal will help you complete the installation efficiently and effectively.
Essential Materials List
Typically, a successful bathroom vanity wall shelf installation begins with gathering the necessary tools and materials.
You'll want to make certain you have everything you need before diving into the project.
Some essential materials you'll need to get started include:
- Wall anchors or screws suitable for your wall type (drywall, tile, etc.)
- A shelf that fits your desired shelf height and color coordination with your bathroom vanity
- Decorative trim or molding to conceal any gaps or edges
Shelf Installation Tools
Precision is key when it comes to selecting the right tools for the job. You'll need a combination of essentials to guarantee a successful shelf installation. For starters, grab a level, stud finder, and pencil to mark the wall accurately.
A drill with screwdriver and drill bits will help you secure the shelf to the wall. Don't forget a measuring tape to double-check your shelf's dimensions and a putty knife for any necessary adjustments.
When it comes to shelf installation methods, consider the weight of your shelf and its contents. If you're dealing with a heavy shelf, you may need additional support, such as wall anchors or molly bolts. For lighter shelves, simple screws might suffice.
Remember to also consider the type of wall you're working with - drywall, tile, or concrete - as this will impact your tool selection.
Lastly, have a toolbox or container handy to keep all your tools organized and within reach. With the right tools and a clear understanding of shelf weight considerations, you'll be well on your way to a successful bathroom vanity wall shelf installation.
Assembling the Shelf Components
Gather all the shelf components, including the wall plate, shelf board, and any decorative trim or hardware, and lay them out on a flat surface. This will give you a clear visual of what you're working with and aid you in organizing your assembly process.
Now it's time to get your hands dirty! Follow the manufacturer's instructions for assembly, and don't be afraid to get creative with your assembly techniques. Remember, component organization is key to a successful build.
Here are a few things to keep in mind:
- Take your time and double-check your measurements before driving in those screws.
- Don't overtighten – you don't want to strip those screws!
- Use a level to guarantee your shelf is straight and level (you don't want your toilet paper rolling off the edge!)
Mounting the Shelf to Wall
When mounting the shelf to the wall, you'll need to select the right type of wall anchor to guarantee a secure hold.
Proper shelf alignment is also vital, as even a slight miscalculation can throw off the entire installation.
To get it right, you'll want to use a drill bit that matches the anchor type and carefully measure the wall studs to ascertain a precise fit.
Wall Anchor Selection
Wall Anchor Selection
You'll typically have three main options for wall anchors when mounting your bathroom vanity wall shelf: molly bolts, toggle bolts, or hollow-wall anchors. Each type has its own strengths and weaknesses, so it's crucial to choose the right one for your specific situation.
Here are some key considerations to keep in mind:
-
Weight capacity: Make sure the anchor you choose can support the weight of your shelf and whatever you plan to put on it. You don't want your shelf crashing down in the middle of the night!
-
Wall type: If you have hollow walls, you'll need hollow-wall anchors. For solid walls, molly bolts or toggle bolts might be a better option.
-
Ease of use: If you're not comfortable with complex installations, look for anchors with simpler designs and fewer parts.
Shelf Alignment Matters
Proper shelf alignment is essential to achieving a sturdy and visually appealing installation. You've got this! Take your time, and don't rush through this step. Measure twice, and mark the wall carefully. You want your shelf to sit at a comfortable height, allowing you to easily access your bathroom essentials without straining. Aim for a shelf height that's roughly 30-40 inches above the countertop. This will provide a nice aesthetic balance and create a sense of harmony in the room.
Now, grab your level and hold it against the wall. Verify it's straight and even. Mark the spot where you want to install the shelf, considering any obstructions, like plumbing or electrical outlets.
Use a pencil to draw a faint line along the wall, indicating the shelf's position. Double-check your measurements and marks to confirm everything is spot-on. Remember, a well-aligned shelf is the foundation of a successful installation. Get this right, and you'll be on your way to a beautiful, functional bathroom vanity wall shelf.
Drill Bit Precision
Your drill is about to become your new best friend as you commence on the essential step of mounting the shelf to the wall.
Drill bit precision is critical to guarantee a sturdy and secure installation. You'll need to choose the right drill bit type and size for the job.
For instance, a wood bit is ideal for drilling into studs, while a masonry bit is better suited for concrete or brick walls. When it comes to drill bit sizes, a 1/8 inch or 1/4 inch bit is usually sufficient for most bathroom vanity wall shelves.
Here are a few more things to keep in mind:
- Don't use a drill bit that's too small, or you risk stripping the screw head.
- Avoid using a drill bit that's too large, or you'll end up with a hole that's too big for the screw.
- Always test your drill bit on a scrap piece of wood or drywall before drilling into the wall to verify it's the right size and type.
Adjusting for Level and Plumb
The bubble in your level indicates the vanity wall shelf is slightly off-kilter, a discrepancy that can throw off the entire installation. Don't panic, it's an easy fix! To adjust for level, you'll need to employ some level adjustment techniques.
First, identify the culprit – is it the shelf or the wall? If it's the shelf, simply shim it with thin spacers or adjust the mounting brackets. If it's the wall, you may need to reposition the shelf or add some extra support.
Next, verify your shelf is plumb using plumb alignment methods. Hold your level vertically against the shelf and adjust as needed. If you're using a laser level, project a vertical line onto the wall to guide your alignment.
Hiding Unsightly Shelf Brackets
Since you've got your shelf perfectly level and plumb, it's time to tackle the less-than-glamorous task of hiding unsightly shelf brackets.
Let's face it, those metal or plastic contraptions can be a major eyesore in an otherwise sleek bathroom.
But don't worry, with a few clever bracket concealment techniques, you can keep them out of sight.
Here are some ideas to get you started:
- Use decorative cover options like wooden or MDF bracket covers, which can be stained or painted to match your bathroom's style.
- Install a trim or molding around the shelf to create a seamless look and hide the brackets from view.
- Opt for floating shelf brackets that are designed to be hidden from view, giving your shelf a sleek, minimalist appearance.
Adding Finishing Touches
As you near the completion of your bathroom vanity wall shelf installation, it's essential to focus on adding those finishing touches that will enhance the overall look and feel of your bathroom.
You're almost there, but don't skip this step – it's like putting icing on a cake (or in this case, a fancy soap dispenser on your new shelf).
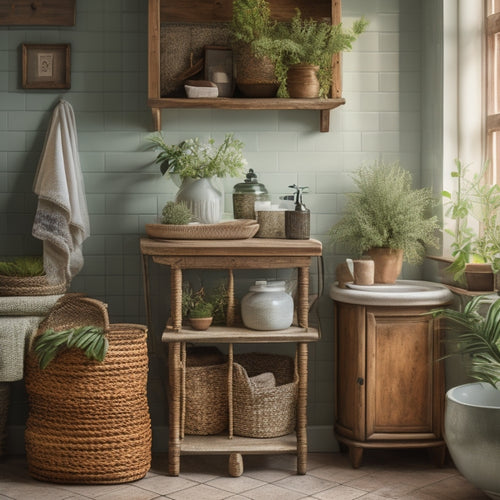
First, consider your shelf decor. Add some greenery, like a small potted plant or a vase with fresh flowers, to bring in a touch of nature.
You can also display decorative items like scented candles, luxurious towels, or even a few favorite beauty products. Just remember to balance your decor to avoid cluttering the shelf.
Next, think about lighting options. You can install under-shelf lighting to create a warm ambiance or add a string of fairy lights to give your bathroom a spa-like feel.
Whatever you choose, make sure it complements your bathroom's overall aesthetic.
With these finishing touches, you'll be thrilled with your new bathroom vanity wall shelf installation – and it'll be the envy of all your friends!
Frequently Asked Questions
Can I Install a Vanity Shelf Over Existing Tile or Wallpaper?
You can install a vanity shelf over existing tile or wallpaper, but it's essential to verify the shelf materials can hold the weight and you use a strong tile adhesive to avoid a disastrous DIY fail.
How Do I Handle Shelf Installation Around Plumbing Fixtures?
When dealing with plumbing fixtures, you'll need to measure carefully for shelf placement, ensuring at least 1-2 inches of plumbing clearance around pipes and faucets to avoid any, ahem, 'crappy' DIY disasters!
Are There Any Specific Building Codes for Bathroom Shelves?
You're about to get schooled in shelf safety! Before you start installing, check local building codes for shelf weight limits and compatible wall materials - don't risk a collapse, or worse, a DIY fail that'll make you LOL (not in a good way)!
Can a Vanity Shelf Be Installed on a Curved or Angled Wall?
You'll face unique curved wall considerations and need angled wall solutions when installing a vanity shelf on a non-standard surface; measure carefully, use adjustable brackets, and consider consulting a pro to guarantee a sturdy, stylish result.
Do I Need to Hire a Professional for This Installation Project?
Coincidentally, you're wondering if you need a pro for this job - and that's exactly what a pro would think! But, if you're comfortable with DIY considerations and have the right Tool requirements, you might just find yourself saying, 'I did it myself!' (with a hint of satisfaction and a touch of humility).
Conclusion
You've made it! With these bathroom vanity wall shelf installation tips and tricks, you've altered your bathroom into a spa-like oasis. Your shelf is now a stylish haven for toiletries, towels, and trinkets. And the best part? You've done it in a fraction of the time it would take a pro! You've worked like a skilled carpenter, measuring, drilling, and leveling like a pro. Now, step back, admire your handiwork, and bask in the glory of your newfound DIY skills!
Related Posts
-
Unique Vintage Bathroom Storage Furniture
Unique vintage bathroom storage furniture seamlessly blends timeless elegance with practical functionality, altering ...
-

Revamp Your Home With Spring Cleaning Checklist
Spring's arrival presents a prime opportunity to transform your living space, shedding the remnants of winter's hiber...
-

Empowerment and Opportunities at USC JEP
The University of Southern California's Joint Educational Project (JEP) offers a wide range of empowerment and opport...


