
Build Your Own Bathroom Vanity
You're about to commence on a rewarding DIY project that combines creativity, technical skill, and attention to detail: building your own bathroom vanity from scratch. Start by planning your design, considering your desired look and feel, budget, and must-have features. Choose high-quality materials that fit your style and sustainability goals. Take precise measurements and cut wood carefully to guarantee a solid cabinet. Assemble the components, install plumbing fixtures, and add finishing touches like decorative hardware and accessories. With attention to detail and patience, you'll create a custom vanity that reflects your personal style and enhances your bathroom's functionality - and that's just the beginning of your expedition to a stunning new space.
Key Takeaways
- Establish a realistic budget and prioritize must-haves versus nice-to-haves in features to ensure a successful bathroom vanity build.
- Measure the space accurately and decide on the layout before starting to build the vanity to ensure a proper fit.
- Choose high-quality materials that fit your desired style and budget, considering factors like sustainability and durability.
- Assemble the vanity cabinet carefully, using high-quality hardware and clamps to secure shelves, and drill pilot holes to prevent wood splitting.
- Plan for plumbing fixture installation, including turning off the water supply, mounting the faucet, and securing the sink to the vanity top.
Planning Your Bathroom Vanity
Vision is key when it comes to planning your bathroom vanity. You need to think about how you want your space to look and feel before you start building. Take some time to flip through design magazines or scroll through Pinterest to get some design inspiration. What style are you going for? Modern and sleek or traditional and ornate? Make a note of the features you like and dislike about each design.
Next, consider your budget considerations. How much are you willing to spend on materials, tools, and any necessary labor? Set a realistic budget and stick to it. You don't want to get halfway through your project and realize you've overspent.
Think about the must-haves versus the nice-to-haves. Do you need multiple sinks or can you get by with one? Are you willing to splurge on high-end materials or opt for more affordable options?
Once you have a clear vision and budget in mind, you can start making decisions about the specifics of your project. Measure your space, decide on the layout, and choose the features that fit your style and budget.
With a solid plan in place, you'll be ready to start building your dream bathroom vanity.
Choosing the Right Materials
When choosing materials for your bathroom vanity, you'll want to prioritize quality to guarantee durability and longevity.
You'll also need to take into account the style you're aiming for, as this will influence your material selection - from modern and sleek to traditional and ornate.
Material Quality Matters
Frequently, DIYers get caught up in the excitement of building their own bathroom vanity and overlook an essential aspect: material quality. You don't want to sacrifice functionality and durability for the sake of saving a few bucks. When selecting materials, consider your sustainability goals and budget constraints.
| Material | Pros | Cons |
|---|---|---|
| Reclaimed Wood | Eco-friendly, unique aesthetic | Higher cost, potential for defects |
| Engineered Quartz | Durable, low maintenance | May not be suitable for DIY installation |
| Solid Hardwood | Timeless look, sturdy | Can be expensive, requires proper sealing |
| Laminate | Affordable, easy to install | May not be as durable, lacks natural look |
Vanity Style Options
As you investigate building your own bathroom vanity, the style you choose will greatly influence the overall aesthetic and functionality of the space.
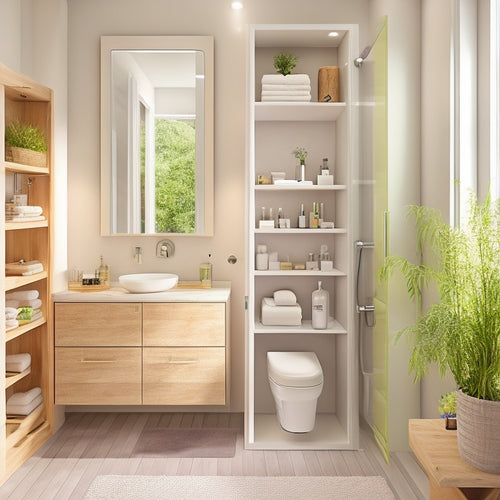
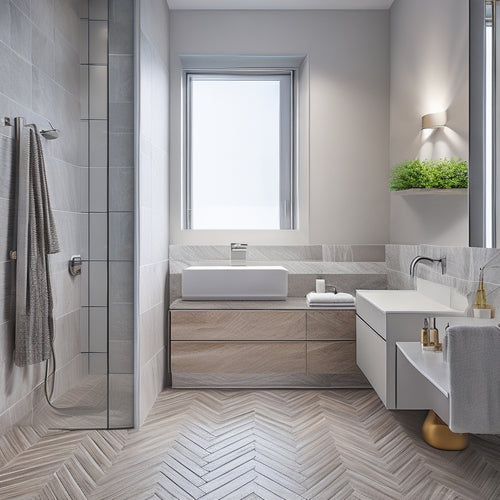
You'll want to reflect on what vibe you're going for: modern designs with clean lines and sleek surfaces, traditional styles with ornate details, or maybe a minimalist aesthetic that keeps things simple and understated. If you're feeling rustic, you can opt for reclaimed wood or distressed finishes to add some charm.
Functional features are also vital. Think about the color schemes that'll complement your bathroom's existing decor, and how you can optimize the space to fit your needs.
Do you need lots of storage or prefer open shelving to keep things visible? Perhaps you want customization options to make your vanity truly one-of-a-kind. Decorative hardware can add a pop of personality, too.
Whatever style you choose, remember it's all about creating a space that reflects your taste and meets your needs. So, take your time, get creative, and have fun with it!
Measuring and Cutting Wood
You'll need to take precise measurements of your bathroom space and vanity design to guarantee a perfect fit, so it's vital to understand wood measurement essentials, including how to calculate widths, heights, and depths accurately.
Next, you'll move on to cutting your wood pieces, where accurate cutting techniques will make all the difference in achieving professional-looking results.
Wood Measurement Essentials
Get accurate measurements down to a science by investing the time to prep your wood correctly. You'll need to inspect the wood grain to determine the best direction for your cuts. This is vital, as it can affect the stability and appearance of your final product.
To guarantee accuracy, gather your trusty measurement tools, including a tape measure, square, and calipers. Take note of the following essential measurements:
| Measurement | Description |
|---|---|
| Length | Measure the length of your wood, considering any obstructions or irregularities. |
| Width | Record the width of your wood, making sure you account for the wood grain direction. |
| Thickness | Measure the thickness of your wood to determine the best cutting technique. |
| Kerf | Note the kerf (the width of the saw blade) to avoid errors in your calculations. |
| Squareness | Verify that your wood is square by measuring the diagonals; if they're equal, you're good to go! |
Accurate Cutting Techniques
With accurate measurements in hand, you're ready to move on to the cutting phase. This is where the magic happens – or not, if you're sloppy with your saw work. Don't worry, we've your back.
Saw selection is essential for making precise cuts. You'll want to choose a saw that's suitable for the type of wood you're working with. A circular saw or a miter saw will give you the cleanest cuts, but if you're working with curved designs, a jigsaw might be your best bet.
Precision tools are your friends here. Invest in a high-quality tape measure, a combination square, and a marking gauge to guarantee your cuts are accurate and square.
Take your time, and don't rush through the cutting process. It's better to take small, incremental cuts and check your work as you go rather than risking a major mistake. Remember, measure twice, cut once – and always wear safety goggles!
Assembling the Vanity Cabinet
As the foundation of your bathroom vanity takes shape, the cabinet begins to emerge from its component parts.
Now it's time to bring it all together with some careful assembly. You'll need to decide on the right hardware selection to guarantee your cabinet stays sturdy and secure.
Don't skimp on quality – those cheap screws might save you a few bucks, but they'll cost you in the long run.
To get started, gather your materials and follow these assembly techniques:
- Use a clamp to hold the shelves in place while you attach them to the cabinet frame
- Drill pilot holes to avoid splitting the wood, and screw in those shelves with confidence
- Don't be afraid to get creative with your assembly sequence – sometimes it's easier to attach the back panel last, rather than trying to squeeze it in between the sides
Installing Plumbing Fixtures
Installing Plumbing Fixtures
You've made it to the most essential part of building your own bathroom vanity: installing the plumbing fixtures! This is where your DIY skills will be put to the test. Don't worry, with some plumbing basics under your belt, you'll be a pro in no time.
First, let's talk about the types of fixtures you'll be working with. You'll need to install a faucet, sink, and possibly a pop-up drain. Here's a breakdown of what you'll need to know:
| Fixture Type | Installation Tips |
|---|---|
| Faucet | Mount to sink or countertop, connect water supply lines |
| Sink | Secure to vanity top, connect drain and water supply lines |
| Pop-up Drain | Connect to sink and P-trap, guarantee proper venting |
Remember to turn off the water supply before starting the installation process. You don't want any unexpected surprises! Take your time, and double-check your connections to guarantee a leak-free installation. With these tips, you'll be well on your way to a beautifully functional bathroom vanity.
Adding Finishing Touches
You've successfully installed the plumbing fixtures, and now it's time to focus on the aesthetic aspects of your bathroom vanity. This is where you get to express your inner designer and make your vanity truly shine.
To add those finishing touches, consider the following:
-
Color selection: Choose a color scheme that complements your bathroom's overall style and mood. You can opt for a bold, contrasting color to make your vanity stand out or a more subtle, matching tone to blend in with the surroundings.
-
Decorative hardware: Update your vanity's hardware with stylish knobs, handles, or pulls that reflect your personal taste. From modern and sleek to vintage and ornate, the options are endless.
-
Accessory installation: Add any final accessories, such as a mirror, lighting, or a decorative trim, to complete your bathroom vanity's look.
Frequently Asked Questions
Can I Use a Bathroom Vanity in a Non-Traditional Space, Like a Basement?
You can totally rock a bathroom vanity in a non-traditional space like a basement - it's all about embracing a unique design that optimizes the space. Think vertically, get creative with storage, and voilà, a functional oasis!
How Do I Ensure My DIY Vanity Is Ada-Compliant?
Fasten your seatbelts, time-traveler! To guarantee your DIY vanity is ADA-compliant, you'll need to follow accessible design principles. Check the height requirements: sinks should be 34 inches high, and the mirror's bottom edge should be 40 inches from the floor - don't get stuck in the Stone Age!
Can I Add a Vessel Sink to a Self-Built Vanity?
You can totally add a vessel sink to your DIY vanity, but consider the style - wall-mount, pedestal, or console? - and design factors like countertop thickness, plumbing access, and clearance for a seamless, ADA-friendly installation.
What Kind of Electrical Outlets Do I Need for a Bathroom Vanity?
Did you know 60% of homeowners consider bathroom renovations a top priority? Now, about those outlets: you'll need Ground Fault Circuit Interrupter (GFCI) outlets, specifically Type A or B, with 20-amp capacity, and tamper-resistant features to guarantee safe bathroom wiring for your vanity.
Are There Any Specific Bathroom Vanity Building Codes I Should Know?
You're wise to wonder about building codes! When constructing a bathroom vanity, you'll need to take into account local regulations regarding building materials, plumbing requirements, and electrical installations to avoid costly reworks and guarantee a safe, functional space.
Conclusion
You've built your own bathroom vanity, a true creation that's a cut above the rest. Like a Renaissance artist, you've changed raw materials into a work of art that's both functional and beautiful. Now, stand back and admire your handiwork, just as Michelangelo gazed upon his completed David. Your new vanity is a reflection of your creativity and skill, a true triumph that will be the envy of all who enter your bathroom.
Related Posts
-
Modular Bathroom Storage for Small Spaces
Modular bathroom storage is your go-to solution for small spaces, turning clutter into chic organization. Use wall-mo...
-
Contractor's Cost-Saving Tile Strategies and Designs
When tackling a tile project, I've learned that smart design decisions can lead to significant savings. By prioritizi...
-
Kitchen Remodeling Made Easy: Free Planning Tools
I'm excited to transform my kitchen into a stunning space, but I know that without a clear plan, my dream can quickly...


