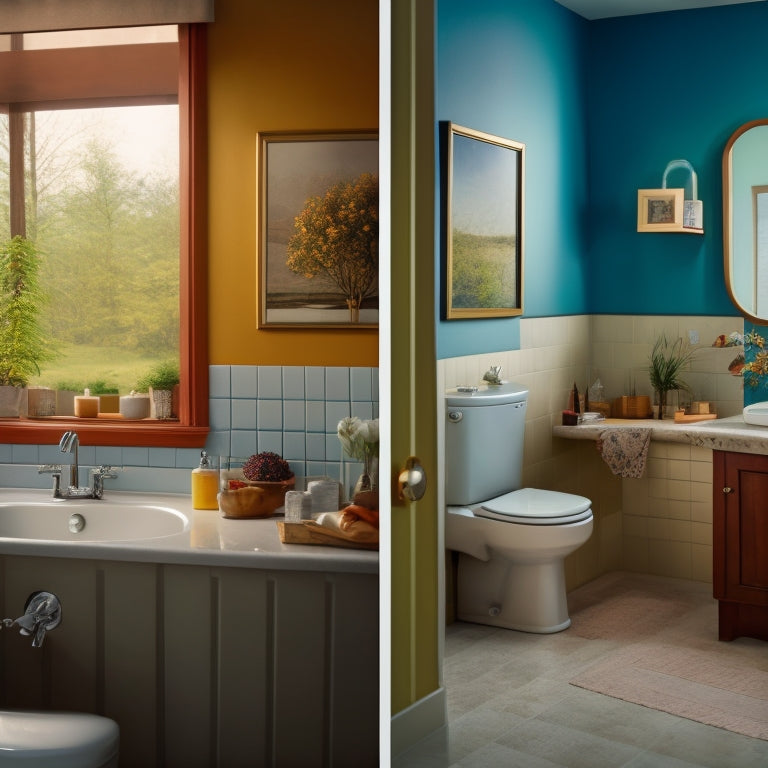
Building a Bathroom in 10 Easy Steps
You'll start by planning your bathroom layout, measuring the room and identifying obstacles, and designing a functional space that meets your needs. Next, you'll prepare the construction site, clearing the room and protecting surrounding areas. Then, you'll lay the floor and walls, selecting moisture-resistant materials and ensuring a watertight seal. The next steps involve installing plumbing and electrical systems, adding a bathroom vanity and sink, and installing the toilet and bidet. Finally, you'll finish with flooring and walls, and finalize with fixtures and trim. As you move through these steps, you'll uncover the complexities of bathroom design and construction, and ultimately create a space that's both beautiful and functional.
Key Takeaways
- Plan the bathroom layout considering the "wet zone" and "work triangle" concepts to ensure balanced distances between fixtures.
- Prepare the construction site by clearing the room, protecting surrounding areas, and disconnecting utilities before starting work.
- Choose flooring and wall materials that are moisture-resistant, durable, and easy to clean, such as ceramic tiles or waterproof panels.
- Install plumbing fixtures securely and correctly, following manufacturer instructions, to prevent leaks and instability.
- Ensure electrical systems are set up safely and conveniently, with outlets near the sink and mirror, and various lighting types for ambiance.
Plan Your Bathroom Layout
With your dream bathroom in mind, start by mapping out the space to ascertain a functional and comfortable layout. Measure the room's dimensions, taking note of any obstructions like plumbing fixtures or electrical outlets.
Next, identify the "wet zone" – the area around the shower, sink, and toilet – and plan accordingly. This will help you optimize space and assure a smooth traffic flow.
Consider the "work triangle" concept, where the distances between the sink, toilet, and shower are balanced to create a harmonious flow.
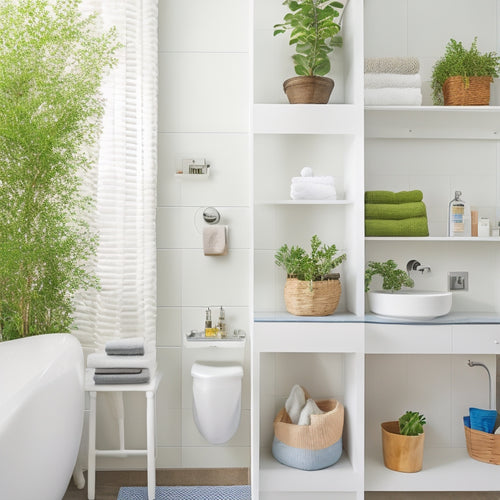
Don't forget about storage; allocate space for your essentials like towels, toiletries, and cleaning supplies. Think vertically, too – installing shelves or cabinets above the toilet or sink can help maximize storage without sacrificing floor space.
Prepare the Construction Site
You've finalized your bathroom layout, and now it's time to change your design into a reality. The first step in making that happen is to prepare the construction site. This is where the excitement of building your dream bathroom begins, but don't get ahead of yourself – safety comes first!
Site Preparation Checklist
| Task | Description | Responsible |
|---|---|---|
| Clear the room | Remove all furniture, fixtures, and flooring | You |
| Cover adjacent areas | Protect surrounding walls, floors, and surfaces with plastic or drop cloths | You |
| Disconnect utilities | Shut off water, electricity, and gas supply to the bathroom | Licensed professional |
| Obtain necessary permits | Secure construction permits from local authorities | You or licensed professional |
Remember to take site safety seriously and obtain all necessary construction permits before proceeding. Don't risk your safety or the integrity of your project by skipping these essential steps. With your site prepared, you'll be ready to start building your dream bathroom in no time!
Lay the Floor and Walls
Two essential components of your bathroom's foundation are the floor and walls, which must be laid correctly to guarantee a safe and functional space.
You don't want any nasty surprises, like water seeping through the cracks or tiles popping off, do you? So, take your time and get it right!
To confirm a solid foundation, follow these steps:
-
Choose the right tile patterns: Select tiles that fit your style and bathroom layout. Make certain to contemplate factors like moisture resistance, durability, and ease of cleaning.
-
Lay the floor: Start by applying a layer of underlayment material, followed by the tile adhesive, and finally the tiles themselves. Don't forget to leave space for grout and expansion joints!
-
Construct the walls: Use moisture-resistant materials to prevent water damage and mold growth. Verify the walls are straight, level, and securely attached to the floor and ceiling.
Install Plumbing Fixtures
Every bathroom requires a functional plumbing system to guarantee a hassle-free experience. When it comes to installing plumbing fixtures, you'll need to verify that all components are compatible and meet local building codes.
Start by selecting high-quality plumbing materials, such as copper or PEX pipes, that can withstand water pressure and temperature fluctuations.
Next, install the sink, toilet, and shower or bathtub, following the manufacturer's instructions. Make sure to secure each fixture tightly to prevent leaks and wobbles.
Don't forget to connect the water supply lines and drainpipes, taking care not to kink or crimp them.
Regular fixture maintenance is vital to prevent clogs, corrosion, and other issues. Be sure to check and replace worn-out washers, O-rings, and other components as needed.
Set Up Electrical Systems
With the plumbing fixtures in place, your attention now turns to setting up the electrical systems that will power the bathroom's various components.
Don't worry, it's not as shocking as it sounds (pun intended). You'll need to guarantee electrical safety by following wiring codes to avoid any hazardous situations.
Here are the key steps to get your electrical systems up and running:
-
Wiring: Run the necessary wires to each fixture, making sure to label and organize them properly to avoid confusion.
-
Outlet placement: Install outlets in strategic locations, such as near the sink and mirror, to provide convenient power access.
-
Lighting: Install lighting fixtures, including overhead lighting, task lighting, and ambient lighting, to create a bright and inviting atmosphere.
Install Shower and Bathtub
You'll need to decide on a bathtub installation method, choosing from options like undermount, topmount, or alcove installation.
Next, you'll determine the ideal placement of your shower head, considering factors like water pressure, spray pattern, and user comfort.
With these decisions made, you can proceed with installing your shower and bathtub, ensuring a watertight seal and proper function.
Bathtub Installation Options
When planning your bathroom renovation, choosing the right bathtub installation option is crucial, as it sets the tone for the entire space.
You'll want to take into account factors like functionality, aesthetics, and budget to guarantee your new tub fits your needs and style.
You have several bathtub installation options to choose from, including:
-
Drop-in installation, where the bathtub is dropped into a pre-built deck or surround, offering a sleek, modern look.
-
Undermount installation, where the tub is mounted underneath the bathroom floor, providing a clean, minimalist aesthetic.
-
Alcove installation, where the tub is nestled into a three-walled enclosure, offering a classic, timeless look.
When selecting your bathtub installation option, reflect on the bathtub styles and materials that fit your vision.
From sleek, modern acrylic tubs to stylish, vintage-inspired clawfoot tubs, the possibilities are endless.
Shower Head Placement
Position the shower head to create a revitalizing and rejuvenating experience. You've got options, and we're about to explore them. With various shower head styles available, consider the type that suits your bathroom's vibe. Rainfall shower heads provide a spa-like experience, while handheld shower heads offer flexibility. If you're looking for a luxurious feel, go for a ceiling-mounted shower head.
When it comes to placement, think about water pressure. A shower head installed too close to the ceiling might lead to weak water pressure, while one placed too low might be uncomfortable. Aim for a spot around 6-8 feet off the floor for peak performance.
Don't forget to check the shower arm's length and adjust it accordingly. You might need to invest in an extension or a shorter arm to get the perfect fit. By positioning your shower head correctly, you'll be enjoying a rejuvenating shower experience in no time. Just remember, it's all about finding the sweet spot that works for you!
Add Bathroom Vanity and Sink
Installing the bathroom vanity and sink marks a significant milestone in your bathroom-building project. You're one step closer to having a fully functional bathroom, and it's time to get excited!
When choosing a vanity, consider the style that best fits your bathroom's aesthetic. Do you prefer modern and sleek, or traditional and ornate? Vanity styles vary greatly, from wall-mounted to free-standing, so take your time to select the one that complements your bathroom's design.
Here are some key considerations when selecting a sink:
-
Sink materials: Stainless steel, ceramic, and glass sinks are popular choices, each with their own unique benefits and drawbacks. Stainless steel sinks are durable and easy to clean, while ceramic sinks offer a more traditional look. Glass sinks add a touch of elegance, but may require more maintenance.
-
Sink size and shape: Make sure the sink fits comfortably within the vanity and accommodates your needs. Consider a sink with a built-in faucet hole or a wall-mount faucet for a sleeker look.
-
Drainage system: Don't forget to install a reliable drainage system to prevent water from accumulating in the sink bowl. A pop-up drain or a grid drain system are popular options.
Install Toilet and Bidet
You're now ready to tackle one of the most vital components of your bathroom: the toilet and bidet. This is where the magic happens, or at least where you'll be spending some quality time.
Toilet placement is essential, so make sure it's at least 15 inches from the wall and 30 inches from any adjacent fixtures.
Now, onto the fun part – bidet features! You've got options: standalone bidet, toilet-bidet combo, or even a bidet attachment for your existing toilet. Consider the space you have available, as well as your personal preferences for temperature control, massage functions, and self-cleaning nozzles.
When installing the toilet, use a level to verify it's straight and a wax ring to create a watertight seal. For the bidet, follow the manufacturer's instructions for plumbing and electrical connections.
Don't forget to test both fixtures to make sure they're functioning properly – you wouldn't want any, ahem, surprises.
Finish With Flooring and Walls
You're now ready to focus on the finishing touches: flooring and walls.
You'll need to choose from a range of flooring options, such as ceramic tiles, natural stone, or luxury vinyl, to find the best fit for your bathroom.
As you select your wall material, whether it's drywall, glass, or concrete, consider how it'll impact your layout design.
Flooring Options Available
When it comes to building a bathroom, the type of flooring you choose can greatly impact the overall aesthetic and functionality of the space.
You want a floor that's both stylish and durable, able to withstand the humid conditions and heavy foot traffic that bathrooms entail.
You've got a range of options to evaluate, each with its pros and cons. Here are a few popular ones:
-
Tile types: From ceramic to porcelain, tile offers a wealth of style options and is generally easy to clean. Plus, it can mimic the look of natural stone for a fraction of the cost.
-
Vinyl sheets: A budget-friendly option that's also waterproof, making it perfect for bathrooms. Look for textured finishes to add some visual interest.
-
Waterproof laminate: A cost-effective alternative to hardwood, laminate offers a realistic wood grain look and can withstand moisture.
When selecting your flooring, don't forget to think about eco-friendly options, heated flooring for those chilly winter mornings, and maintenance tips to keep your floor looking its best.
With the right choice, you'll be well on your way to creating a bathroom that's both beautiful and functional.
Wall Material Choices
How do you envision the walls of your dream bathroom - sleek, modern, and sophisticated, or warm, cozy, and inviting? When it comes to choosing the right wall material, you've got plenty of options to create the perfect ambiance.
| Material | Waterproof | Aesthetic |
|---|---|---|
| Ceramic Tile | Sleek, Modern | |
| Natural Stone | Luxurious, Stylish | |
| Glass Tile | Bold, Contemporary | |
| Waterproof Panels | Minimalist, Chic | |
| Painted Drywall | Classic, Cozy |
From ceramic tile to natural stone, each material has its unique characteristics. Ceramic tile and glass tile are popular choices for their sleek, modern look and waterproof properties. Natural stone adds a touch of luxury, while waterproof panels provide a minimalist, chic vibe. If you prefer a more classic look, painted drywall is a great option. Remember, the key is to choose a material that complements your bathroom's style and meets your functional needs. With so many options, you're sure to find the perfect fit for your dream bathroom.
Designing the Layout
Now that you've chosen the perfect wall material, it's time to bring your bathroom design together by creating a functional and aesthetically pleasing layout. This is where you get to think about how you'll use the space and what features are must-haves for you.
When designing your layout, consider the following key elements:
-
Color Schemes: Choose a palette that reflects your personal style and complements your wall material. Don't be afraid to add some personality with bold accents or subtle textures.
-
Storage Solutions: Think about where you'll store toiletries, towels, and other essentials. Consider built-in shelving, cabinets, or a stylish storage unit that doubles as a decorative piece.
-
Traffic Flow: Plan the layout to accommodate the "wet zone" (around the shower and sink), leaving enough space for comfortable movement and minimizing water splashes.
Finalize With Fixtures and Trim
Most bathrooms feature a combination of functional fixtures and decorative trim to create a cohesive look. Now it's your turn to finalize your bathroom's design with the perfect fixtures and trim. You've got a lot of options to choose from, so take your time and have fun with it!
When selecting fixtures, think about the style you're aiming for. Do you prefer modern and sleek, or traditional and ornate? Fixture styles can greatly impact the overall aesthetic of your bathroom. Consider the shape, material, and finish of your sink, toilet, showerhead, and faucets. Make certain they're consistent and complementary to create a harmonious look.
Next, focus on your trim choices. Trim can add a touch of elegance or whimsy to your bathroom, depending on the style you choose. From sleek and modern to ornate and classic, trim options are endless.
Consider the color, material, and pattern of your trim to guarantee it complements your fixtures and overall design. By selecting the right fixtures and trim, you'll create a bathroom that's both functional and beautiful.
Frequently Asked Questions
Can I DIY a Bathroom Renovation or Do I Need a Professional?
Hey, DIY enthusiast! Can you tackle a bathroom renovation solo? Maybe, but be aware of DIY challenges like plumbing and tiling. If you're unsure, don't risk a mess - seek professional advice to avoid costly mistakes and a half-finished bathroom nightmare!
How Do I Deal With Mold or Mildew During Construction?
When tackling mold or mildew during construction, you'll want to prioritize prevention and removal. Guarantee good ventilation, fix leaks, and dry surfaces quickly to prevent mold growth, then remove mildew with a solution of bleach and water - and don't forget to wear a mask!
What Are the Benefits of a Freestanding Tub Versus a Built-In?
When choosing a tub, you'll find freestanding advantages include easier cleaning and a sleek look, while built-in drawbacks include being harder to clean and more prone to water damage, making freestanding a popular choice.
Can I Install a Bathroom in a Basement With a Low Ceiling?
As you descend into the depths of your basement, the ceiling shrinks like a shrinking violet, but don't let it wilt your bathroom dreams! You can install a bathroom down here, but you'll need to maneuver basement plumbing and cleverly design around that pesky low ceiling height.
What Are the Current Trends in Bathroom Design and Style?
You're on top of the latest trends, and rightfully so! Currently, you'll see a shift towards minimalist designs that exude simplicity and sophistication, often paired with sustainable materials that'll make you feel good about your eco-friendly choices.
Conclusion
You've made it! You've survived the chaos of construction and now stand at the threshold of your brand-new bathroom. But don't uncork the champagne just yet - the final walk-through is essential. Double-check every fixture, every tile, and every connection. One overlooked leak or loose screw can turn your dream bathroom into a nightmare. Take a deep breath, grab your clipboard, and scrutinize every detail. Your perfect bathroom is just a thorough inspection away.
Related Posts
-
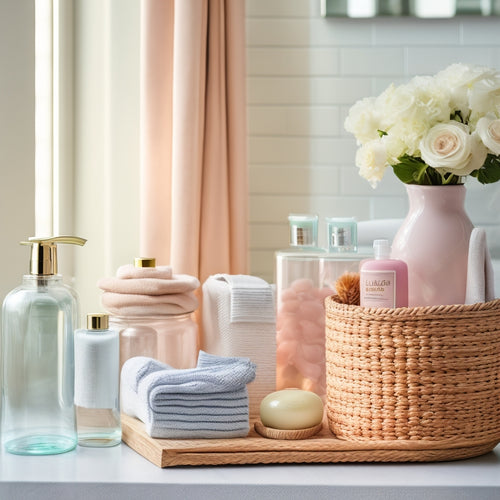
Small Bathroom Waterproof Storage Ideas
In a small bathroom, you've got to get creative with waterproof storage solutions to keep things organized and dry. C...
-
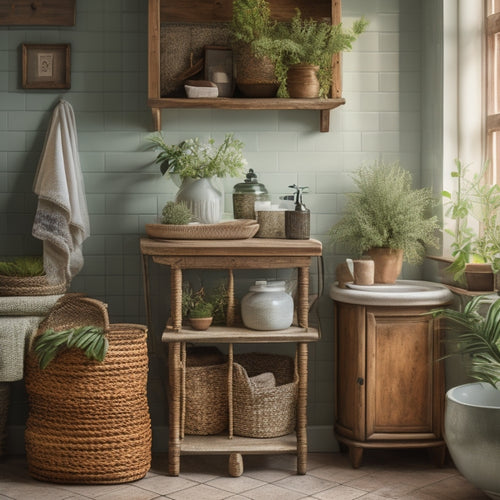
Unique Vintage Bathroom Storage Furniture
Unique vintage bathroom storage furniture seamlessly blends timeless elegance with practical functionality, altering ...
-
Organize Your Bathroom With Stylish Labels
Effortless bathroom organization begins with stylish labels that establish a sense of order, making it easy to find w...


