DIY Vintage Bathroom Storage Projects
Share
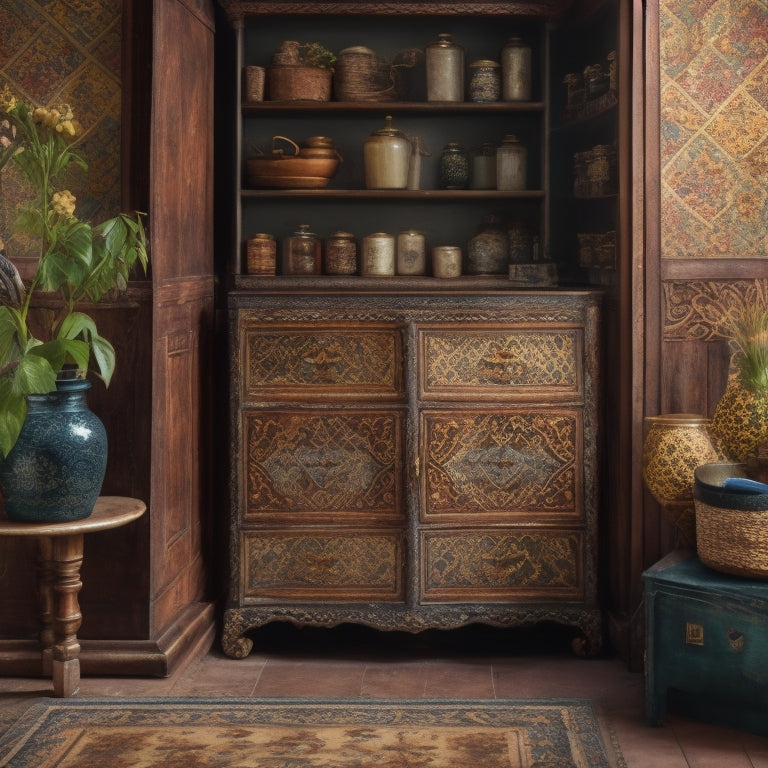
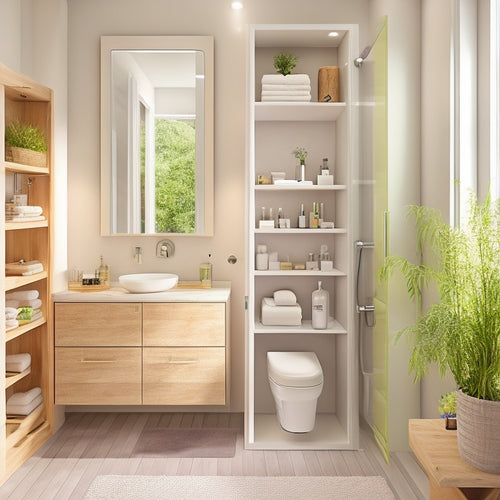
You can breathe new life into your bathroom by upcycling vintage items and crates into functional storage solutions that exude charm and character. Old crates can be repurposed into shelving units, containers, or hanging storage, while techniques like distressing and decoupage enhance their vintage appeal. Add rustic charm with vintage metal signs, distressed wood shelves, and antique-inspired hardware, or incorporate natural materials like reclaimed wood and stone for unique storage options. With a little creativity, you'll be well on your way to creating a bathroom oasis that's both functional and stylish - and there are plenty of ideas waiting to be uncovered.
What You Need to Know
- Upcycle old crates into functional storage solutions, such as shelving units or containers, to add vintage aesthetics to your bathroom.
- Use rustic elements like vintage metal signs, distressed wood shelves, and antique-inspired hardware to create a cozy atmosphere.
- Incorporate vintage accessories like distressed crates, woven baskets, and apothecary jars to add texture and improve organization.
- Measure your bathroom space accurately to fit storage solutions effectively and utilize cost-effective DIY shelving using reclaimed wood or crates.
- Combine form and function by incorporating ornate metal brackets, distressed wooden corbels, or vintage items like old windows or doors as unique shelf dividers.
Upcycle Old Crates Freely
You can repurpose old crates into functional storage solutions that add a touch of vintage charm to your bathroom.
Consider converting crates into shelving units or using them as storage containers for towels, toiletries, and other essentials.
By incorporating eclectic styles that allow mixing textures and finishes, you can create a personalized look vintage aesthetics that blends art and function.
Crate Storage Ideas
By repurposing old crates, you can create unique and functional storage solutions that add a touch of vintage charm to your bathroom. With a little creativity, you can convert these crates into beautiful storage units that hold your bathroom essentials.
For instance, using clear storage bins can allow for easy identification of stored items, eliminating the need to rummage through cabinets. You can achieve vintage crate styling by distressing the crates, adding a coat of paint, or decoupage. Then, arrange them creatively to create a one-of-a-kind storage solution.
For instance, you can stack them horizontally to create a shelf or vertically to create a storage tower. You can also hang them on the wall to add a decorative touch.
Experiment with different crate sizes and shapes to create a visually appealing arrangement. Add some decorative items like vintage faucets, old keys, or other knick-knacks to give your crate storage a personalized touch.
With creative crate arrangements, you can create a functional and stylish storage solution that reflects your personality. By upcycling old crates, you'll not only reduce waste but also add a touch of uniqueness to your bathroom.
Crate Shelving Solutions
Old crates can be converted into functional and stylish shelving solutions, adding a touch of vintage charm to your bathroom. You can upcycle old crates freely, giving them new life as open shelving units, perfect for storing toiletries, towels, and other bathroom essentials.
To create a crate shelving solution, start by gathering crates of varying sizes and arranging them in a configuration that fits your bathroom's layout. Consider maximizing vertical space with over-the-sink shelves to free up counter space and keep essential items within arm's reach. You can stack them vertically or horizontally, depending on the space available.
Add some decorative brackets or screws to secure the crates in place, and you'll have a unique storage solution that exudes vintage aesthetics.
To maximize crate organization, consider adding dividers or baskets within the crates to separate items. You can also attach labels or signs to each crate to identify what's stored inside.
With a little creativity, you can create a functional and stylish shelving system that not only adds storage but also becomes a focal point in your bathroom. By upcycling old crates, you'll reduce waste, add a touch of vintage charm, and create a one-of-a-kind storage solution that reflects your personal style.
Adds Rustic Charm Easily
You can add rustic charm to your bathroom storage with essentials like vintage metal signs, distressed wood shelves, and woven baskets.
Incorporating space-saving designs such as wall-mounted cabinets can also enhance the overall aesthetic while keeping essentials within reach.
To take it up a notch, incorporate easy decor upgrades like replacing modern fixtures with antique-inspired hardware or adding a few well-placed potted plants.
Rustic Bathroom Essentials
Adding rustic charm to your bathroom doesn't have to break the bank or require a complete renovation. You can achieve the look by incorporating rustic bathroom essentials that exude a cozy, natural feel.
Start by introducing vintage accessories like distressed wooden crates, woven baskets, or metal lanterns to add texture and visual interest. These elements will also provide ample storage for your bathroom organization needs, and can be further enhanced by utilizing vertical storage to keep surfaces clear and maximize space.
Additionally, consider implementing organization strategies, such as decluttering and categorizing items into daily essentials and occasional use, to enhance morning routines and visual appeal.
Rustic bathroom essentials can also include natural materials like reclaimed wood, stone, or brick. You can repurpose these materials to create unique storage solutions, such as a wooden shelf or a stone pedestal sink.
Add some earthy tones through terracotta pots, woven rugs, or a natural fiber shower curtain to bring warmth to the space.
Easy Decor Upgrades
Frequently, the simplest tweaks can make a significant impact on your bathroom's rustic charm. By incorporating vintage accessories and decorative elements, you can easily add character to your bathroom without breaking the bank. Here's a breakdown of easy decor upgrades to get you started:
| Decor Upgrade | Rustic Charm Factor |
|---|---|
| Add vintage accessories (e.g., old apothecary jars, metal signs) | High |
| Replace modern lighting fixtures with vintage-inspired options | Medium |
| Display decorative jars filled with natural elements (e.g., pebbles, seashells) | Low-Medium |
These decor upgrades require minimal effort but can make a significant difference in achieving a vintage look. For instance, adding vintage accessories like old apothecary jars or metal signs can instantly add character to your bathroom. Similarly, replacing modern lighting fixtures with vintage-inspired options can create a warm, cozy ambiance. By incorporating these easy decor upgrades, you can create a bathroom that exudes rustic charm and personality.
Reclaimed Wood Shelf Dividers
You can create a unique and functional storage solution by installing wooden slab dividers on your shelves, adding a touch of rustic charm to your vintage bathroom.
When designing your shelf dividers, consider the style and aesthetic you want to achieve, from modern and minimalist to ornate and distressed.
Wooden Slab Installation
To create a unique and functional storage solution for your vintage bathroom, install wooden slab dividers on your shelves using reclaimed wood. This project adds a touch of rustic charm and maximizes storage space.
Begin by measuring your shelves and cutting the wooden slabs to fit. Sand the slabs to smooth out any rough edges and remove any debris.
Next, apply your preferred wooden slab finish, such as a stain or sealant, to protect the wood and enhance its appearance. You can choose a finish that complements your bathroom's aesthetic, from a rich walnut stain to a distressed, worn look.
Once the finish is dry, attach the slabs to your shelves using brackets or screws.
To maintain your wooden slab dividers, regularly dust them with a soft cloth and avoid exposing them to excessive moisture. With proper care, your wooden slab dividers will remain a beautiful and functional addition to your vintage bathroom for years to come.
Shelf Divider Designs
With your wooden slab dividers securely in place, it's time to investigate the various design options that can enhance their functionality and aesthetic appeal.
Reclaimed wood shelf dividers offer a unique opportunity to infuse your bathroom with vintage aesthetics. Consider adding ornate metal brackets or distressed wooden corbels to create a rustic, eclectic look. For a more modern take, you can opt for sleek, minimalist designs that prioritize functional design over decorative flair.
To maximize storage capacity, consider incorporating adjustable shelves or baskets into your design. This will allow you to customize your storage space to fit your specific needs.
If you're looking to add a touch of whimsy, consider repurposing vintage items like old windows or doors as shelf dividers.
Whatever design you choose, make sure it reflects your personal style and complements the overall aesthetic of your bathroom. By combining form and function, you'll create a one-of-a-kind storage solution that's both beautiful and functional.
Measure Your Bathroom Space
You're ready to create your vintage bathroom storage, but before you start building, take a step back and measure your bathroom space.
Accurate measurements are essential to ensuring your DIY project fits snugly and looks great.
Space Dimensions Matter
Before diving into the world of DIY vintage bathroom storage, it's essential to get a handle on the space you're working with. You'll want to optimize your bathroom's dimensions to guarantee your storage solutions fit seamlessly. Take note of the room's length, width, and any obstacles like plumbing fixtures or electrical outlets.
| Dimension | Measurement | Consideration |
|---|---|---|
| Length | Record the length of your bathroom from wall to wall. | Will your storage solution fit comfortably in the available space? |
| Width | Measure the width of your bathroom from wall to wall. | Are there any narrow areas that require specialized storage? |
| Height | Note the ceiling height and any vertical obstacles. | Can you employ vertical space with shelving or cabinets? |
| Clearance | Measure the clearance around fixtures like sinks and toilets. | Will your storage solution fit around these obstacles? |
Measure Twice Ensure
Measure twice to guarantee your DIY vintage bathroom storage project gets off to a successful start. You'll need to take accurate measurements of your bathroom space to ascertain your storage solutions fit perfectly. Gather your measuring tools, including a tape measure, level, and calculator, to get started.
Begin by measuring the length, width, and height of your bathroom. Record these measurements to reference later. Next, measure the space where you plan to install your storage solutions, such as under the sink, above the toilet, or in a corner.
Take note of any obstacles, like pipes or electrical outlets, that might affect your design. Accurate measurements will save you time and frustration in the long run. Double-check your calculations to avoid costly mistakes.
With precise measurements, you'll be able to choose the perfect storage solutions for your vintage bathroom, ascertaining a beautiful and functional space that's all your own.
Cost-Effective Than IKEA Solutions
You're likely thinking that IKEA is the go-to for affordable storage solutions, but you can actually create your own budget-friendly storage options that are customized to your vintage bathroom's unique style.
By repurposing items you already have or finding thrifty alternatives, you can save money and create a one-of-a-kind look.
From upcycled crates to refinished furniture, the possibilities are endless and can be achieved on a shoestring budget.
Budget-Friendly Storage Options
Tackle cluttered countertops and overflowing cabinets with budget-friendly storage solutions that won't break the bank. You can create a stylish and functional bathroom without draining your wallet.
Start by repurposing items you already have, like vintage jars or old containers, to store small items like cotton balls, Q-tips, or bobby pins. You can also use repurposed baskets to hold extra towels, washcloths, or toilet paper.
Another budget-friendly option is to upcycle old furniture, like an antique dresser or a vintage ladder, to create unique storage pieces. You can also get creative with DIY shelving using reclaimed wood or crates.
These storage solutions not only save you money but also add a touch of vintage charm to your bathroom. Plus, they're eco-friendly and reduce waste.
Frequently Asked Questions
Can I Use Vintage Items Not Originally From a Bathroom for Decor?
You can definitely repurpose vintage items not originally from a bathroom for decor, embracing their unique charm and versatility to create a one-of-a-kind space that reflects your personal vintage aesthetics.
How Do I Clean and Disinfect Reclaimed Wood Before Use?
When repurposing reclaimed wood, you'll want to clean and disinfect it thoroughly. Opt for eco-friendly solutions like vinegar and water or a wood treatment like tea tree oil to kill bacteria and preserve the wood's natural beauty.
Are DIY Storage Projects Suitable for Small Bathrooms?
You're wondering if DIY storage projects are suitable for small bathrooms? Take Sarah's 50 sq. ft. bathroom, where a floating shelf above the sink maximized space. Yes, DIY projects offer perfect space-saving solutions and functional decor for tiny bathrooms like yours!
Can I Paint or Stain Vintage Items to Match My Bathroom Theme?
You can totally refinish vintage items to match your bathroom's unique vibe! Paint or stain them to achieve perfect color matching, and don't be afraid to experiment with vintage finishes to add character to your space.
Do I Need Special Tools or Skills for These DIY Projects?
Oh, you think you're a DIY rockstar, huh? Newsflash: you don't need a Ph.D. in carpentry to tackle these projects! You'll need some essential tools and basic skills, but trust us, you've got this – and we'll guide you through it.
Explore More
You've got the ball rolling on your DIY vintage bathroom storage project! Now, take a step back and visualize the final result - a space that's a cut above the rest. By thinking outside the box (or crate, in this case), you've managed to create a unique storage solution that's truly one-of-a-kind. With a sprinkle of creativity and some elbow grease, you've turned an ordinary bathroom into an extraordinary oasis.
Related Posts
-

Modular Bathroom Storage for Small Spaces
Modular bathroom storage is your go-to solution for small spaces, turning clutter into chic organization. Use wall-mo...
-

Drawer Inserts for Maximizing Bathroom Cabinet Space
When it comes to maximizing your bathroom cabinet space, custom drawer inserts can be a revolutionary solution, revea...
-

Mastering Project Management Organization for Success
You know that mastering project management organization is essential for success, but it requires a strategic approac...


