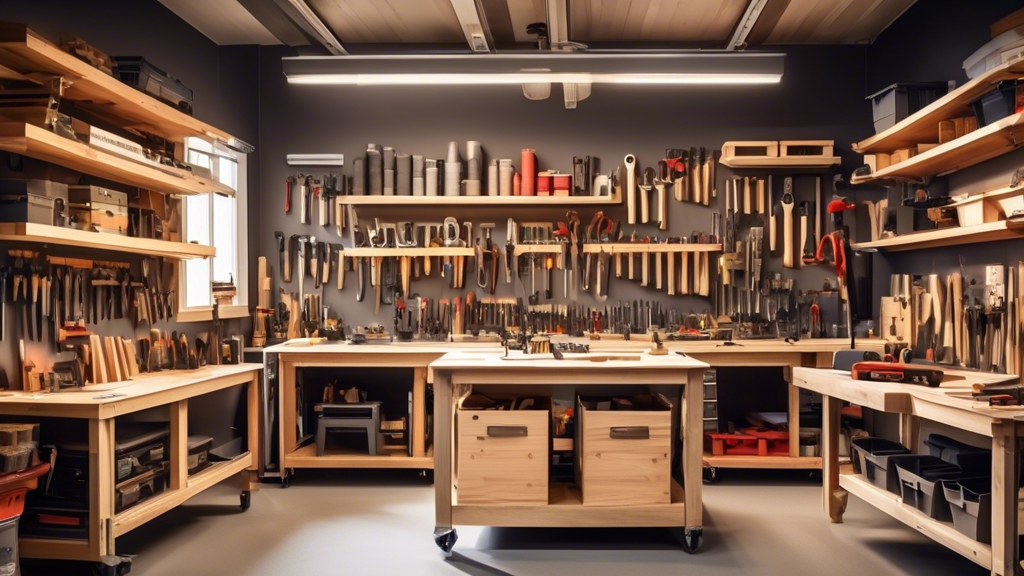
Top Woodworking Workshop Organization Tips
Share
Organize Your Woodworking Workshop Like a Pro
Welcome to the wonderful world of woodworking! Whether you're a newbie or a seasoned DIY enthusiast, one thing's for sure: a well-organized workshop can make all the difference in your crafting experience. Let's dive into some top tips to help you streamline your woodworking space and unleash your creativity.
Why Workshop Organization Matters
Imagine this: you're in the zone, crafting a beautiful piece of furniture, when you suddenly can't find that perfect chisel or the right sandpaper grit. Frustrating, right? By keeping your woodworking workshop tidy and organized, you'll not only save time but also improve your workflow and overall productivity.
Tip #1: Storage Solutions
- Invest in sturdy shelving units to store lumber, tools, and supplies.
- Use clear storage bins and label them for easy identification.
- Hang pegboards on the walls to keep frequently used tools within arm's reach.
Tip #2: Workbench Wisdom
Your workbench is the heart of your workshop, so keep it clutter-free and optimized for efficiency. Consider the following:
- Mount a power strip under the bench for easy access to outlets.
- Install a vice to secure workpieces in place while you work on them.
- Use magnetic strips to keep small metal tools organized and visible.
Tip #3: Layout and Flow
Creating a logical layout in your workshop can significantly enhance your woodworking experience. Think about how you move around the space and arrange your tools and equipment accordingly:
- Designate specific zones for cutting, sanding, assembly, and finishing.
- Keep frequently used tools within arm's reach of your workbench.
- Ensure adequate lighting in each work area to prevent eye strain.
Tip #4: Clean As You Go
Woodworking can generate a lot of dust and debris, which can quickly pile up if left unchecked. Make it a habit to clean your workshop regularly to maintain a healthy and safe environment:
- Invest in a good quality shop vacuum for efficient dust extraction.
- Wipe down surfaces and equipment after each project to prevent buildup.
- Dispose of sawdust and scraps in dedicated bins to keep the floor clear.
Tip #5: Personalize Your Space
Your woodworking workshop is your sanctuary, so don't be afraid to infuse it with your personality and creativity:
- Display your completed projects as inspiration and motivation.
- Add plants or artwork to create a welcoming and inspiring atmosphere.
- Make space for a cozy corner where you can relax and unwind after a productive day.
By following these woodworking workshop organization tips, you'll not only transform your space into a well-oiled crafting machine but also set the stage for countless wonderful woodworking adventures. Happy crafting!
Related Posts
-

Unique Vintage Bathroom Storage Furniture
Unique vintage bathroom storage furniture seamlessly blends timeless elegance with practical functionality, altering ...
-

Revamp Your Bathroom Drawers With Custom Organizer
I'm revamping my cluttered bathroom drawers with a custom organizer that's both functional and visually appealing. I ...
-

Revamp Your Bathroom Cabinets With Easy Organizing
I'm ready to breathe new life into my cluttered bathroom cabinets. First, I'll clear everything out and give them a g...


