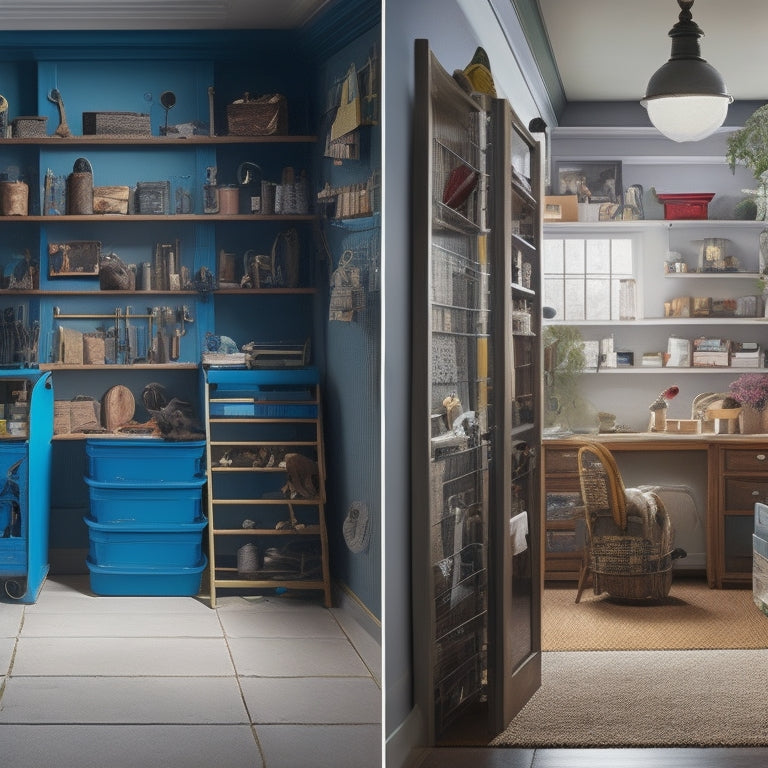
In Wall Storage Cabinet Installation Process
You're about to commence on a thorough process that requires precision and attention to detail to successfully install an in-wall storage cabinet. Start by preparing the installation site, clearing the area of obstructions, and equipping yourself with necessary tools and safety gear. Next, measure the wall space accurately, accounting for electrical outlets, switches, and pipes. Then, cut the wall openings, assemble and frame the cabinet, and install it into the wall, ensuring level and secure attachment. Finally, secure the cabinet in place, conduct final inspections, and make necessary adjustments - and you'll be well on your way to achieving a professional-looking installation, with more essential details to come.
Key Takeaways
- Clear the area of obstructions and wear protective gear to ensure a safe and efficient installation process.
- Measure the wall space accurately, noting any obstructions, to avoid costly mistakes and ensure proper fit.
- Assemble the cabinet frame securely, using provided hardware, to create a sturdy structure for installation.
- Secure the cabinet to the wall using appropriate fasteners, ensuring level and plumb alignment with surrounding features.
- Conduct a quality assurance process to inspect the installation for functionality, scratches, and imperfections, making adjustments as needed.
Preparing the Installation Site
Since you're about to install an in-wall storage cabinet, make sure the site is ready by clearing the area around the installation location of any furniture, rugs, or other obstructions that could hinder your access or movement.
You don't want to be stuck trying to squeeze past a bulky couch or trip over a stray shoe while lugging around power tools.
Next, put on your safety goggles and dust mask - we're about to get real.
Safety precautions are paramount when working with power tools, so guarantee you're protected from flying debris and dust.
You'll also need a trusty sidekick, aka your tool belt, stocked with essentials like a level, drill, and stud finder.
Now that you're geared up, take a moment to survey the site.
Check for any electrical outlets, switches, or pipes that might be lurking behind the drywall.
You don't want to risk drilling into a live wire or water pipe - that's a recipe for disaster!
With your tool requirements in check and the area cleared, you're ready to move on to the next step.
Measuring the Wall Space
With your installation site prepared and safety precautions in place, turn your attention to the wall space where the cabinet will reside. Measuring the wall space accurately is essential to guarantee a seamless installation.
Start by recording the wall dimensions, taking note of any obstructions, such as electrical outlets, switches, or plumbing fixtures. Consider the spatial considerations, like the distance between studs, door swing, and adjacent walls.
Using a tape measure, record the width, height, and depth of the wall space. Don't forget to measure the distance from the floor to the ceiling, and any surrounding features, like crown molding or baseboards.
Take note of any irregularities, like uneven walls or sagging floors, as these may impact the cabinet's installation. Double-check your measurements to avoid errors, and transfer them to your cabinet's installation manual or a sketch.
Now that you have a precise understanding of your wall space, you're one step closer to a successful in-wall storage cabinet installation.
Cutting the Wall Openings
Typically, the most labor-intensive part of in-wall storage cabinet installation begins now: cutting the wall openings. It's time to get your DIY game face on and tackle this vital step. Before you start, take a deep breath and remember: safety precautions are your best friend. Put on those safety goggles, gloves, and a dust mask to protect yourself from debris and dust.
Next, select the right tool for the job. A reciprocating saw or a drywall saw will be your best bet for cutting through drywall. If you're dealing with plaster or concrete, you may need a more heavy-duty tool like a rotary hammer or an angle grinder. Make certain you've marked the wall opening locations accurately, using a level and a straightedge to guarantee straight cuts.
Now, start cutting along the marked lines, working from the top down to avoid dust and debris falling onto your face. Use a vacuum or a damp cloth to clean up as you go, keeping the area tidy and safe.
Remember to cut slowly and steadily, taking breaks to avoid fatigue. You got this!
Cabinet Assembly and Framing
You'll start assembling the cabinet frame by constructing the sides, top, and bottom using the provided hardware.
Next, you'll prepare the cabinet for wall mounting by attaching the necessary brackets and fasteners according to the manufacturer's instructions.
With the frame assembled and mounting preparation complete, you'll be ready to move on to the next step in the installation process.
Cabinet Frame Construction
As you prepare to assemble the cabinet frame, gather all the necessary components, including the side panels, top and bottom panels, back panel, shelves, and hardware. You're about to get your hands dirty, and we're excited to guide you through this vital step.
Frame Construction Breakdown
| Step | Action |
|---|---|
| 1 | Attach side panels to top and bottom panels using screws or nails, ensuring a sturdy frame. |
| 2 | Add the back panel to the frame, making sure it's securely fastened. |
| 3 | Install shelves according to your design specifications, using the provided hardware. |
| 4 | Reinforce the frame with additional support beams, if necessary, to handle the weight capacity. |
| 5 | Double-check the frame's stability and make any adjustments before moving on to the next step. |
When choosing frame materials, consider durability, weight capacity, and aesthetics. Construction techniques, such as screwing or nailing, will depend on the type of material you're working with. Don't rush this process – a well-constructed frame is essential for a successful cabinet installation.
Wall Mounting Preparation
Five essential wall mounting preparation steps separate your cabinet from its final installation.
You're almost there, but don't rush through this part – it's vital for a secure and level installation.
First, gather your tools checklist: a level, drill, wall anchors, screws, and a stud finder.
Yes, a stud finder is necessary, as you'll need to locate the wall studs to guarantee a sturdy hold.
Next, inspect the wall material. Is it drywall, plaster, or concrete?
This will determine the type of wall anchors you'll need. For drywall, use hollow-wall anchors, while for plaster or concrete, you'll need more heavy-duty anchors.
Now, locate the wall studs using your trusty stud finder.
Mark their positions to guide your drilling.
Clean the area around the marks to guarantee a smooth drilling process.
Installing Cabinet Into Wall
You'll start by marking the wall where you want to install the cabinet, taking care to guarantee the marks are level and aligned with the cabinet's dimensions.
Next, measure the space carefully to verify the cabinet will fit snugly and evenly.
Then, secure the cabinet to the wall using appropriate fasteners, making certain it's level and plumb before proceeding.
Marking the Wall
Marking the Wall
How precisely do you want the cabinet aligned with the surrounding wall features? It's crucial to get this step right, as it sets the tone for the entire installation process.
Take your time, and don't rush through it – you'll thank yourself later.
To guarantee accurate wall alignment, grab your trusty marking tools (we like to use a laser level and a stud finder) and get to work.
Here's what you need to do:
- Identify the wall studs using your stud finder, and mark their locations with a pencil.
- Determine the cabinet's center point and mark it on the wall, considering any obstructions or electrical outlets.
- Use a level to draw a straight line along the wall, indicating the cabinet's top and bottom edges.
Measuring the Space
Your wall is now properly marked, and it's time to measure the space where the cabinet will be installed. This step is essential, as it'll guarantee your cabinet fits snugly in the wall. Grab your trusty tape measure and get ready to take some precise measurements.
| Measurement | Description |
|---|---|
| Width | Measure the distance between the marks you made on the wall, confirming the cabinet will fit comfortably. |
| Height | Measure the distance from the floor to the mark you made for the top of the cabinet. |
| Depth | Measure the distance from the front of the wall to the back, considering any obstacles like electrical outlets or plumbing. |
| Wall Material | Identify the type of wall material (drywall, plywood, etc.) to determine the type of fasteners you'll need. |
| Obstacles | Note any obstacles, like electrical outlets or plumbing, that may affect the cabinet's placement. |
Remember to double-check your measurements to avoid any costly mistakes. With these measurements, you'll be ready to start installing your cabinet. Make certain you have the necessary tools required for the job, including a level, drill, and wall anchors suitable for your wall materials.
Securing the Cabinet
Every component is in place, and it's time to secure the cabinet into the wall. You've got the studs marked, the cabinet prepared, and the necessary tools within arm's reach.
Now, let's get down to business!
First, verify the cabinet is level. You don't want it to be wonky, do you? Use a level to double-check, and make adjustments as needed.
Once it's perfectly horizontal, it's time to bring in the wall anchors. These will provide the necessary support to keep your cabinet securely in place.
- Identify the wall studs and mark the anchor locations
- Drill pilot holes for the wall anchors
- Screw the anchors into place, making sure they're snug and secure
Securing the Cabinet in Place
With the cabinet aligned and positioned correctly, you're ready to secure it in place. This is where ensuring cabinet stability becomes essential. You don't want your beautiful cabinet to come crashing down, do you?
Begin by checking the wall materials to determine the type of fasteners you'll need. For instance, if you're working with drywall, you'll want to use drywall anchors. If you're dealing with plaster or concrete, you'll need more heavy-duty fasteners.
Next, hold the cabinet against the wall and mark the spot where the fasteners will go. Drill pilot holes, then screw in the fasteners. Make sure they're securely in place before letting go of the cabinet. If you're using wall anchors, screw them into the wall first, then hang the cabinet on them.
Double-check that the cabinet is level and plumb before tightening all the screws. You should feel confident that your cabinet is now safely secured in place, ready to hold all your storage needs.
Final Touches and Inspections
The cabinet's secure installation is just the beginning; now it's time to focus on the finer details. You're almost done, but don't rush through this part - it's vital to make sure your hard work pays off.
To add the finishing touches, follow these steps:
-
Double-check that all screws, hinges, and handles are securely in place.
-
Inspect the cabinet's exterior and interior for any scratches, dents, or imperfections, addressing them promptly.
-
Test the doors and drawers to make certain of smooth operation and proper alignment.
This quality assurance process is fundamental to confirm your in-wall storage cabinet functions as intended.
Take your time, and don't hesitate to make any necessary adjustments. Remember, it's better to catch any issues now than to deal with them later.
With these final touches, you'll be able to step back and admire your handiwork, knowing you've installed a superior storage solution.
Frequently Asked Questions
Can I Install an In-Wall Storage Cabinet in a Load-Bearing Wall?
You're wondering if you can install an in-wall storage cabinet in a load-bearing wall? Absolutely, but don't forget to address load-bearing concerns by adding cabinet reinforcement, like extra studs or a supporting header, to guarantee your cabinet (and walls) stay put!
How Do I Handle Electrical Outlets or Plumbing Behind the Cabinet?
Imagine a cabinet smack-dab over a pesky outlet - you'll need to reroute it! You'll carefully identify outlet placement, evaluating if it's worth moving or if you can work around it, while also considering plumbing considerations like water shut-offs and pipe rerouting.
Are In-Wall Storage Cabinets Suitable for Exterior Walls?
When you're considering exterior wall installation, you'll want to guarantee your in-wall storage cabinet can withstand the elements. You'll need installation materials that can handle moisture and temperature fluctuations, plus wall insulation that won't compromise the cabinet's functionality or your home's energy efficiency.
Can I Paint or Stain the Cabinet to Match My Wall's Finish?
A million bucks says you're dying to know if you can paint or stain that cabinet to match your wall's finish! You bet your sweet bippy you can! First, prep the surface like a pro, then color match to your heart's content - the result will be seamless!
Do I Need a Permit to Install an In-Wall Storage Cabinet?
You'll need to check if your local building codes require a permit for installing an in-wall storage cabinet, following installation guidelines to guarantee compliance, but don't worry, it's a straightforward process, and you'll be hiding clutter in no time!
Conclusion
You've successfully installed your in-wall storage cabinet! Remember, "measure twice, cut once" - those accurate measurements and careful cuts paid off. Now, your new cabinet blends seamlessly into the wall, providing ample storage and a sleek aesthetic. Double-check that everything is level, plumb, and secure, then step back to admire your handiwork. With each step painstakingly followed, you've created a functional and beautiful addition to your space.
Related Posts
-
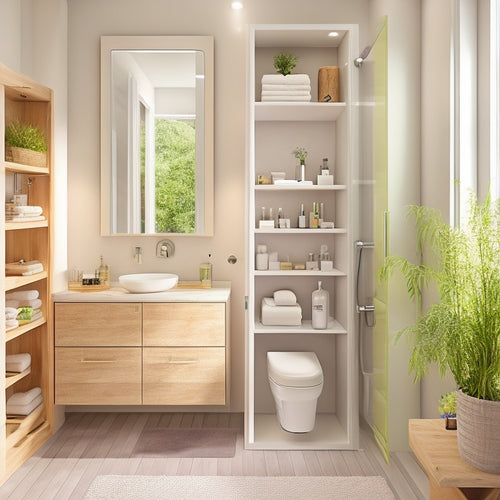
Modular Bathroom Storage for Small Spaces
Modular bathroom storage is your go-to solution for small spaces, turning clutter into chic organization. Use wall-mo...
-
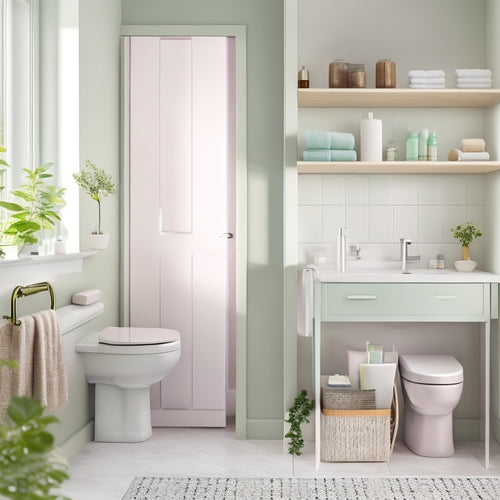
Wall-Mounted Bathroom Organizers for Small Spaces
Wall-mounted bathroom organizers are perfect for maximizing storage in small spaces. By utilizing vertical space, you...
-

Lightware Academy Revolutionizes Pro AV E-Learning
Lightware Academy is revolutionizing Pro AV e-learning with its all-encompassing online platform, offering certified ...


