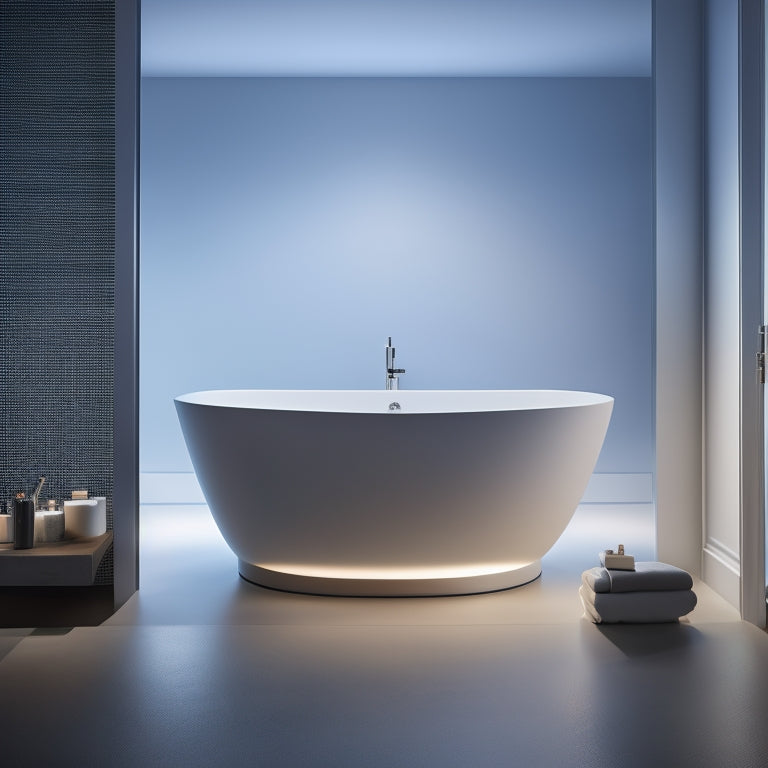
Installing a Freestanding Bath Against a Wall in 5 Steps
Share
You'll start by preparing the bathroom space, evaluating dimensions, and identifying obstacles, then position the bath against the wall, guaranteeing it's centered and symmetrical. Next, connect the water supply lines, attaching them to bath fittings and inspecting for damage or kinks. After that, secure the bath to the floor using anti-slip mats and appropriate fixings, and finally, connect the drain installation and test the bath for leaks and functionality. With these 5 steps, you'll be well on your way to a successful installation - and there's more to contemplate to guarantee a flawless finish.
Key Takeaways
- Assess bathroom dimensions, layout, and obstacles to ensure optimal space utilization and identify the "wet zone".
- Position the bath against the wall, considering door swing, surrounding furniture, and wall materials, ensuring perfect alignment and symmetry.
- Connect water supply lines to bath fittings, ensuring watertight seals, and inspect lines for damage or kinks to maintain water pressure and flow.
- Secure the bath to the floor using appropriate fixings or screws, ensuring compatibility with flooring type and preventing shifting or toppling.
- Finalize plumbing and testing by connecting the drain installation, checking for leaks, and verifying water pressure and functionality.
Prepare the Bathroom Space
As you face the task of installing a freestanding bath against a wall, take a step back and assess the bathroom space.
You're about to create a relaxing oasis, but first, you need to guarantee there's enough room for your new tub. Measure the length, width, and any obstacles like plumbing fixtures or electrical outlets.
Consider the bathroom layout and how you'll make use of the space. Don't forget to factor in the door swing and any surrounding furniture.
Think about the "wet zone" – the area around the tub where water will likely splatter. You'll want to position the bath in a way that minimizes water splashing onto the floor or surrounding surfaces.
Take note of any windows, heating vents, or other features that might impact your installation. By carefully evaluating the space, you'll avoid costly mistakes and guarantee a smooth installation process.
Position the Bath Against Wall
With the bathroom space prepared, focus shifts to positioning the freestanding bath against the wall. This is where you get to decide how you want your bathroom aesthetics to come together.
Think about the style you're going for – modern, traditional, or something in between – and how the bath's placement will impact the overall look.
Measure the distance from the wall to the center of the bath's waste outlet, considering any obstructions like pipes or electrical outlets. You'll want to make certain the bath is centered and symmetrical, so don't be afraid to bust out your trusty level and measuring tape.
Consider the type of wall materials you're working with, too. If you've got a fragile or uneven surface, you may need to adjust the bath's position or add extra support.
Now's the time to think about any necessary adjustments, like adding shims or wedges, to get the bath perfectly aligned.
Connect Water Supply Lines
Behind the freestanding bath, water supply lines await connection. You'll need to attach them to the bath's fittings, ensuring a watertight seal. Don't forget to check the manufacturer's instructions for specific requirements.
Before making the connections, inspect the lines for any damage or kinks. You don't want to compromise water pressure or flow rate. Also, consider adding pipe insulation to reduce heat loss and prevent pipes from freezing in cold weather.
Here's a summary of the connection process:
| Connection Type | Fitting Type | Connection Method |
|---|---|---|
| Hot Water | 3/4" BSP | Threaded connection with Teflon tape |
| Cold Water | 3/4" BSP | Threaded connection with Teflon tape |
| Waste | 1 1/2" BSP | Push-fit connection with O-ring seal |
Remember to tighten the fittings by hand, then with a wrench, to avoid damaging the threads. Once connected, turn on the water supply and check for leaks.
Secure the Bath to Floor
Securing the freestanding bath to the floor is essential to prevent it from shifting or toppling over during use, ensuring user safety and preventing damage to the surrounding area.
You don't want your new bath to become a slippery slope (literally!).
To achieve ideal bath stability and floor protection, follow these steps:
-
Check the manufacturer's instructions for specific guidance on securing the bath to the floor. Some may require special fasteners or brackets.
-
Use anti-slip mats or adhesive strips under the bath's feet to prevent it from sliding or shifting during use.
-
Anchor the bath to the floor using floor fixings or screws, making sure they're compatible with your flooring type (e.g., tile, wood, or concrete).
Finalize Plumbing and Testing
Having completed the bath's installation and secured it to the floor, you're now ready to finalize the plumbing and testing. This is where the magic happens – or, you know, where you finally get to relax in your new tub.
Start by connecting the drain installation to the bath's outlet. Make certain it's securely attached and won't leak or clog. You don't want to be stuck with a flooded bathroom, trust us.
Next, turn on the water supply and check for leaks around the connections. You should also test the water pressure to verify it's within the recommended range for your bath. Too little pressure, and you'll be stuck with a weak jet stream; too much, and you might blow the whole system.
Once you've verified everything is working smoothly, it's time for the final test: filling the bath with water. This is the moment of truth – will your hard work pay off, or will you be left with a mess on your hands?
Take a deep breath, fill 'er up, and cross your fingers. If all goes well, you'll be soaking in your new freestanding bath in no time!
Frequently Asked Questions
Can I Install a Freestanding Bath Against a Load-Bearing Wall?
You're wondering if you can install a freestanding bath against a load-bearing wall? Absolutely, but don't skip the structural checks! Verify the wall can handle the weight, and consider consulting a pro to avoid any, ahem, "bath-time" disasters.
Do I Need to Hire a Professional for This Installation?
You're wondering if you need to call in the pros, huh? Well, if you're comfy with intricate plumbing and have the right tools required, go for it! But if you're unsure, don't risk a DIY disaster – hire a pro for those tricky installation tips.
Are There Any Specific Bath Materials Suitable for This Type of Installation?
When choosing a bathtub, you'll want materials that can handle the unique installation considerations of a freestanding bath against a wall, like acrylic, solid surface, or heavy-gauge steel, which offer durability and flexibility for a stress-free installation.
Can I Relocate Existing Electrical Outlets for Better Bath Placement?
You're wondering if you can relocate existing outlets for better bath placement? Yes, you can, but don't risk electrical shock! Hire a pro to guarantee outlet relocation is done safely, meeting electrical safety codes and avoiding a shocking experience.
How Do I Clean Behind a Freestanding Bath Against a Wall?
Imagine your dream bath, ruined by hairballs and soap scum behind it! You'll need specialized cleaning tools, like a flexible shower cleaning brush, to reach those hard-to-access areas. Guarantee wall access by sliding the bath out or using a removable panel.
Conclusion
You've finally completed the installation of your freestanding bath against a wall! It's like placing the final piece of a puzzle - everything falls into place. Now, step back and admire your handiwork. The bath should sit securely against the wall, with all plumbing connections hidden from view. Double-check that everything is functioning properly, then fill 'er up and enjoy a relaxing soak. Your hard work has paid off, and you can bask in the satisfaction of a job well done.
Related Posts
-

Modular Storage for Bathroom Decluttering
Modular storage is your solution for effective bathroom decluttering. It maximizes every inch of space, allowing cust...
-

Revamp Your Bathroom With Clever Storage Solutions
Transform your bathroom into a serene oasis with clever storage solutions. Maximize space by utilizing under-sink org...
-

Easy Tips to Resize Printables for Any Paper Size
To resize printables for any paper size, it's crucial to understand the importance of maintaining aspect ratio and pr...


