Wall Mounted Vanity Shelf Assembly and Installation
You're about to commence a wall-mounted vanity shelf assembly and installation project that requires precision, patience, and attention to detail to create a sleek, functional, and stable storage solution for your bathroom. You'll start by preparing the shelf components, choosing from glass, wood, or metal materials, and cutting and finishing them to fit your design. Next, assemble the frame structure, attaching side panels and shelf supports securely, and double-checking measurements to avoid errors. Then, attach the shelf to the wall, locating studs and using suitable anchors or screws, before adding a countertop and finalizing the installation process, ensuring a seamless and polished finish that will enhance your bathroom's style and functionality, and there's more to reflect on as you move forward.
Key Takeaways
- Inspect shelf material options, including glass, wood, and metal, and prepare them by cutting, sanding, and finishing accordingly.
- Assemble the shelf frame structure by attaching side panels to top and bottom plates, adding shelf supports, and ensuring sturdy and level construction.
- Locate wall studs, mark attachment spots, and securely fasten shelf brackets to the wall using suitable anchors or screws.
- Attach the countertop material, ensuring a precise fit, secure attachment, and a level surface, and finish with recommended sealants.
- Confirm the shelf is level, securely fastened, and evenly weighted, and make any necessary adjustments before finalizing the installation.
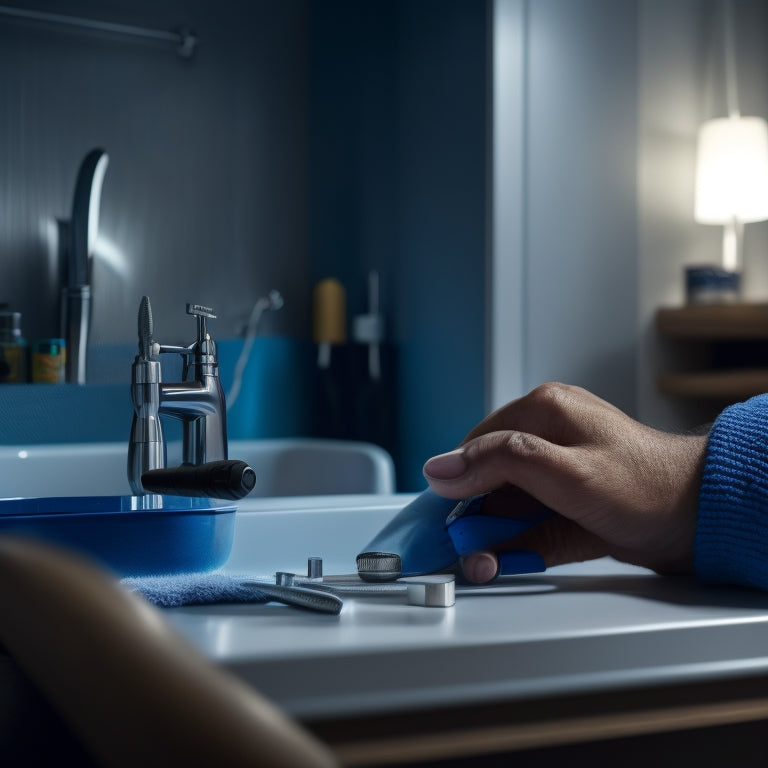
Prepare the Vanity Shelf Components
Having gathered all the necessary tools and materials, you're ready to prepare the vanity shelf components. First, inspect the shelf material options: glass, wood, or metal. Each has its own set of aesthetic considerations.
Glass shelves are sleek and modern, but may show water spots. Wood shelves add warmth, but require more maintenance. Metal shelves are durable, but can be noisy. Choose the material that fits your bathroom's style and your personal preferences.
Cut the shelf material to the desired size using a miter saw or a circular saw. Sand the cut edges to smooth them out and remove any splinters. If you're using wood, apply a finish (stain, paint, or polyurethane) to match your bathroom's trim. For glass or metal shelves, clean the surface with a gentle cleanser to remove any debris.
Next, prepare the shelf supports: measure and cut the brackets or ledges according to your design specifications. Sand or file the cut edges to prevent scratching the wall or shelf.
Now that your components are prepared, you're ready to move on to the next step.
Assemble the Shelf Frame Structure
With your shelf material and supports prepared, you can now focus on building the frame structure that will hold your vanity shelf in place. This is where your shelf design starts to take shape, and material selection plays a vital role.
You'll need to assemble the frame components according to your design specifications. Typically, this involves attaching the side panels to the top and bottom plates using screws or nails. Verify the corners are secure and the frame is level.
Next, add the shelf supports, which will provide additional stability to the structure. These supports can be adjustable or fixed, depending on your shelf design. Confirm they're spaced evenly and securely attached to the frame.
As you assemble the frame, double-check your measurements to avoid any errors. You don't want your shelf to end up looking like a wonky DIY project.
With a sturdy frame structure in place, you'll be ready to move on to the next step – attaching the shelf to the wall.
Attach the Shelf to the Wall
Mount the shelf to the wall by locating the wall studs using a stud finder or knocking gently on the wall to identify the solid spots. You don't want your shelf to come crashing down due to a miscalculation, so take your time and get it right.
Once you've found the studs, mark the spot where you'll attach the shelf brackets. Make sure the marks are level and aligned with the shelf's design.
Next, drill pilot holes into the wall material, taking care not to damage the surrounding area. Use wall anchors or screws suitable for the shelf weight and wall type. You don't want to risk stripping the screws or worse, having the shelf collapse under its own weight.
For heavier shelves, consider consulting the manufacturer's instructions for specific mounting requirements. Finally, attach the shelf brackets to the wall, ensuring they're securely fastened.
Double-check that the shelf is level and plumb before moving on to the next step.
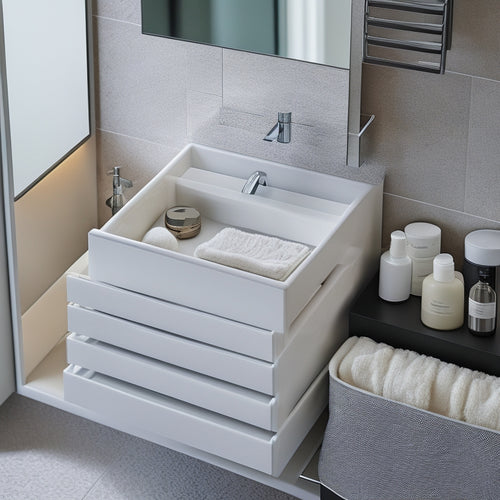
Add the Vanity Shelf Countertop
You'll now attach the vanity shelf countertop, carefully guaranteeing a secure and level fit.
Take your time, as this step is vital in achieving a sturdy and visually appealing final product.
When selecting your shelf material options, consider the style and functionality you desire.
For a sleek, modern look, opt for glass or quartz. For a more rustic, natural aesthetic, wood or stone may be the way to go.
To add the countertop, follow these steps:
- Measure twice, apply once: Double-check your measurements to guarantee a precise fit.
- Secure with caution: Use the recommended adhesive and fastening system to prevent the countertop from shifting or detaching.
- Inspect and adjust: Verify the countertop is level and even, making any necessary adjustments before moving forward.
With your countertop in place, you're one step closer to a beautifully assembled wall-mounted vanity shelf.
Choose from a variety of countertop finishes, such as glossy, matte, or textured, to perfectly complement your bathroom's unique style.
Finalize the Installation Process
In tandem with the newly installed countertop, the final installation process begins. You're almost there!
Double-check that the shelf is level and securely fastened to the wall. Confirm the shelf weight is evenly distributed, considering the weight of any items you plan to store. Now, tighten all screws and bolts, making sure they're snug against the wall materials.
Next, inspect the shelf for any gaps or unevenness. If necessary, add shims or adjust the mounting brackets to achieve a seamless fit.
Once satisfied, apply any finishing touches, such as caulk or silicone sealant, to seal any gaps between the shelf and wall.
Frequently Asked Questions
Can I Use a Wall-Mounted Vanity Shelf in a Bathroom With a Moist Environment?
You're wondering if a wall-mounted vanity shelf can survive a bathroom's steamy atmosphere. Yes, you can, as long as you choose moisture-resistant materials and follow installation tips, like sealing gaps and using waterproof adhesives to keep it dry and sturdy.
How Do I Clean and Maintain the Vanity Shelf to Prevent Water Damage?
You step into your bathroom oasis, surrounded by misty mirrors and dewy air, but suddenly, your serene scene is shattered by the thought of water damage! Fear not, dear homeowner, for you can safeguard your vanity shelf by using waterproof materials and gentle cleaning solutions, like soap and water or specialized products.
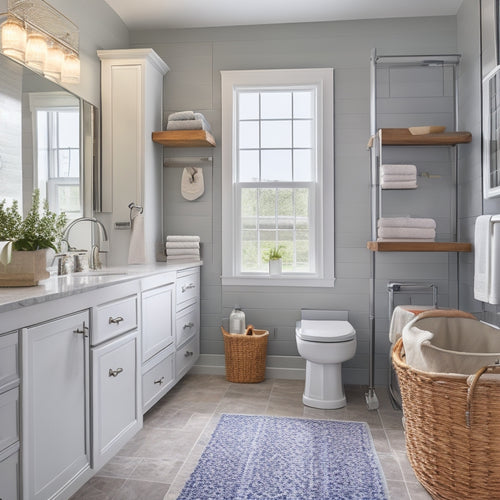
Are Wall-Mounted Vanity Shelves Suitable for Small or Large Bathrooms?
You'll find wall-mounted vanity shelves suitable for bathrooms of all sizes, as they offer space efficiency and design flexibility, allowing you to tailor the look to your tiny powder room or sprawling primary bath, all while keeping your style on point!
Can I Customize the Vanity Shelf to Fit My Bathroom's Unique Style?
You can customize the vanity shelf to fit your bathroom's unique style by exploring design options like floating, corner, or pedestal styles, and choosing from a range of material choices, such as glass, wood, or metal, to create a look that's all you.
Are Wall-Mounted Vanity Shelves Compatible With All Types of Bathroom Walls?
As you traverse the labyrinth of bathroom renovations, you'll find that wall-mounted vanity shelves are chameleons, adapting to various wall types with the right mounting materials - but, spoiler alert, they might not play nice with super-old or severely damaged walls.
Conclusion
You've successfully assembled and installed your wall-mounted vanity shelf. Now, take a step back and admire your handiwork. Did you know that, according to the National Kitchen and Bath Association, 60% of homeowners consider the bathroom to be the most significant room in the house when it comes to renovations? Your new vanity shelf is sure to be a focal point in this essential space. With its sleek design and sturdy construction, it's ready to withstand the daily grind of morning routines and nighttime wind-downs.
Related Posts
-
Space-Optimized Drawer Systems for Bathrooms
Space-optimized drawer systems can totally revolutionize your bathroom's storage. By utilizing vertical space and inn...
-

Get Your Quirky Designs Now
Express your individuality with vibrant, one-of-a-kind designs that celebrate self-expression and quirky humor. Disco...
-
Transform Your Bathroom With Clever Storage Hacks
Elevate your bathroom's functionality and style with clever storage hacks. Maximize space by utilizing the back of th...


